Hello and welcome to Dressed for My Day. We’re in the middle of Beauty Week and I’m sharing my routines for skincare and makeup application. Today I’m sharing my eye makeup routine for creating a natural, pretty everyday look.
If you haven’t already, you might first want to check out my morning skincare routine and my makeup foundations routine. Today I pick up where I left off at the end of yesterday’s post, having already applied my moisturizers, primer, foundation and under eye concealer. I had also applied an eye cream. That step is so important for the older woman, but also essential for smooth application of eye makeup and staying power.
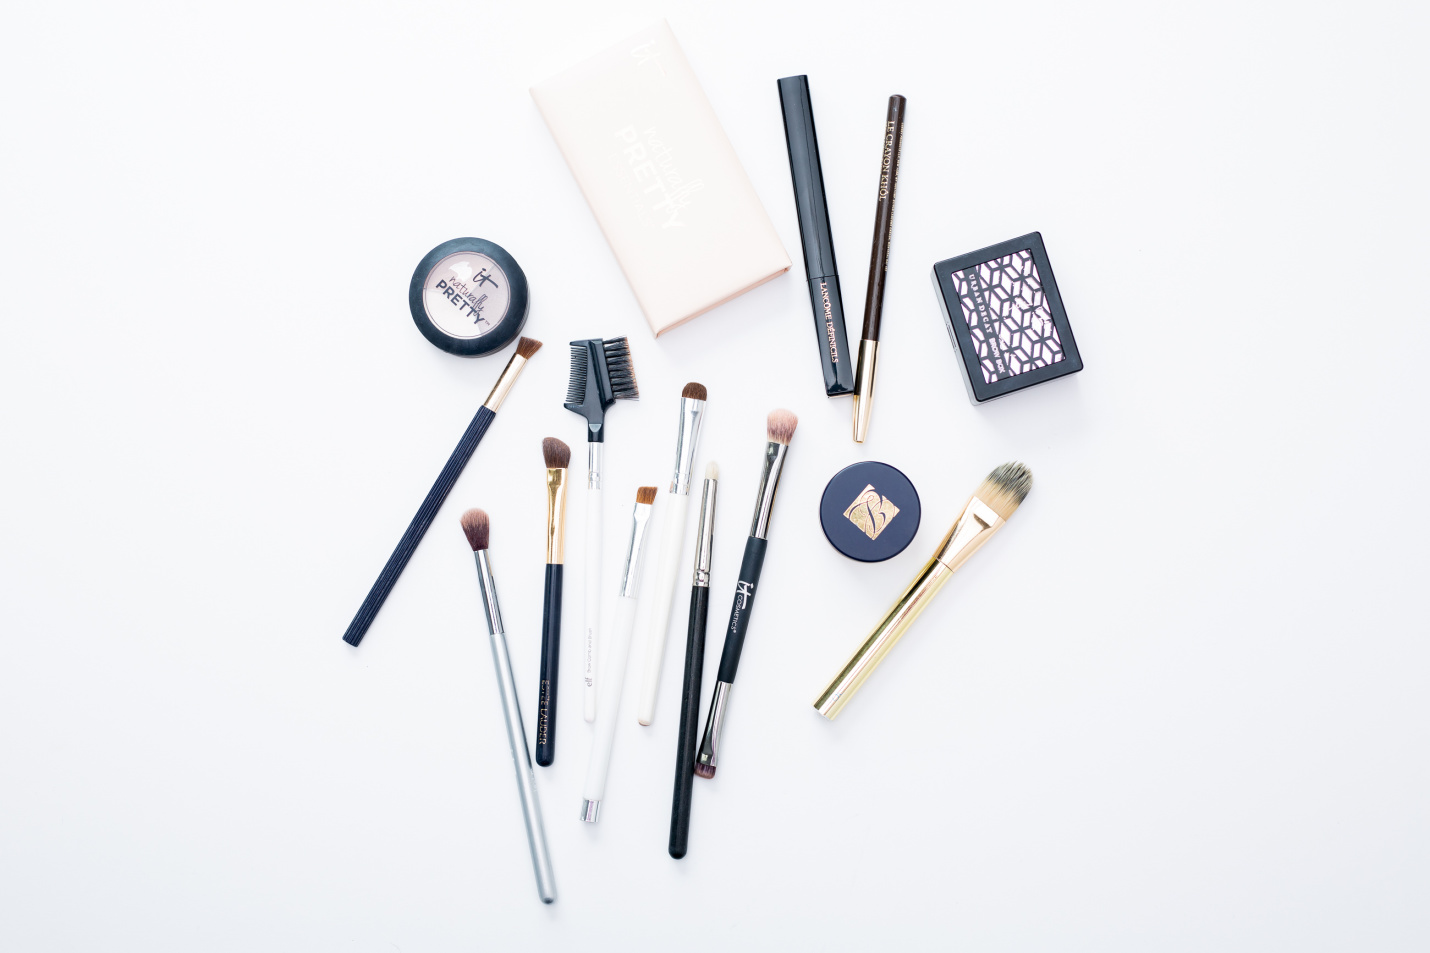
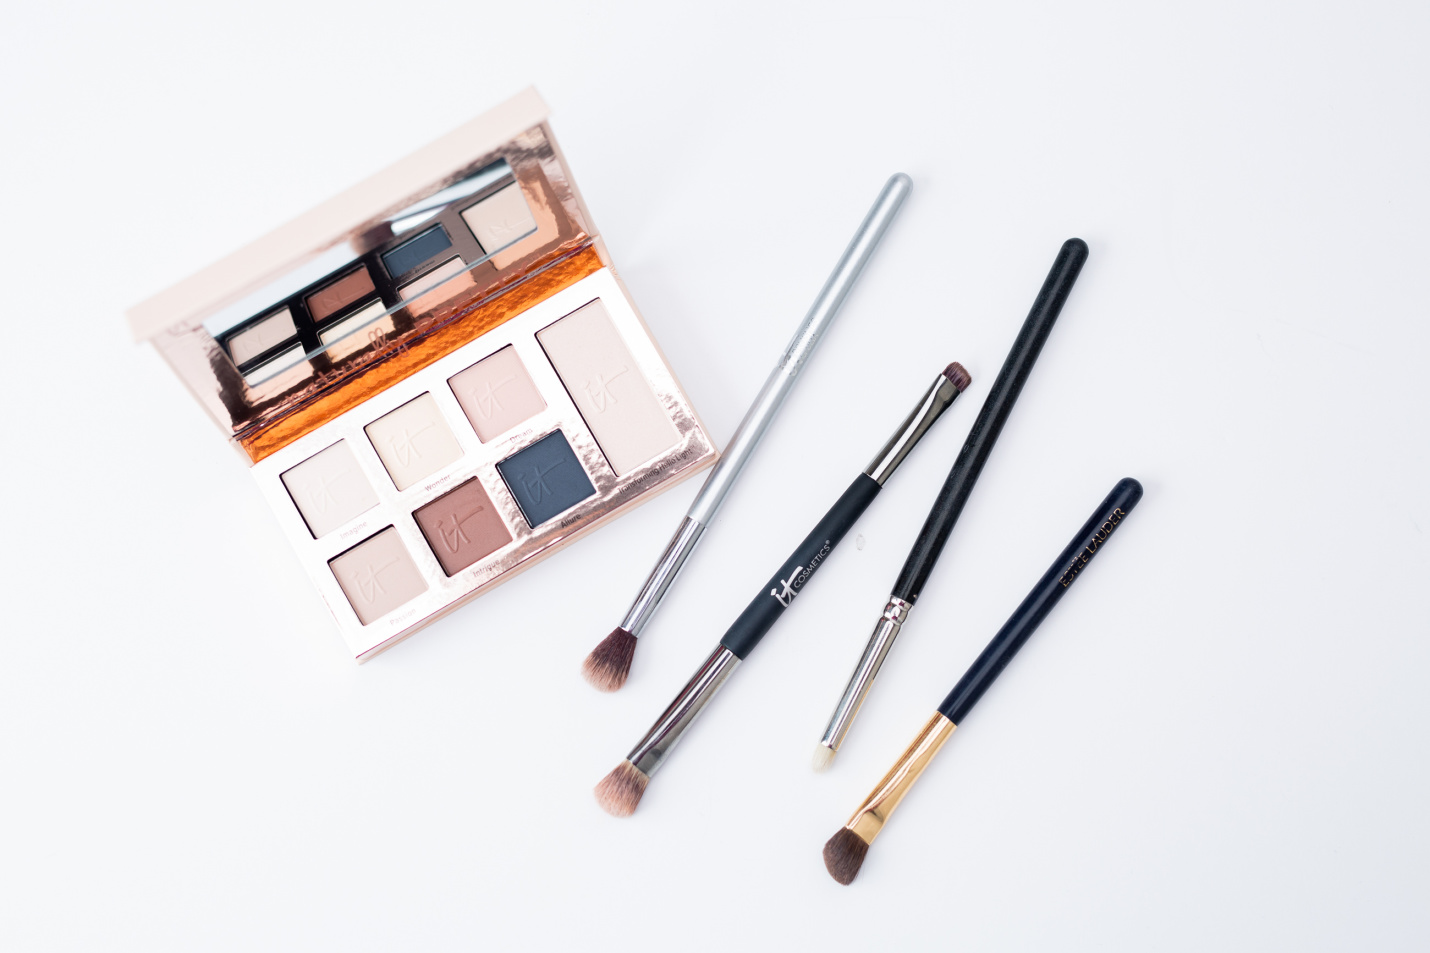
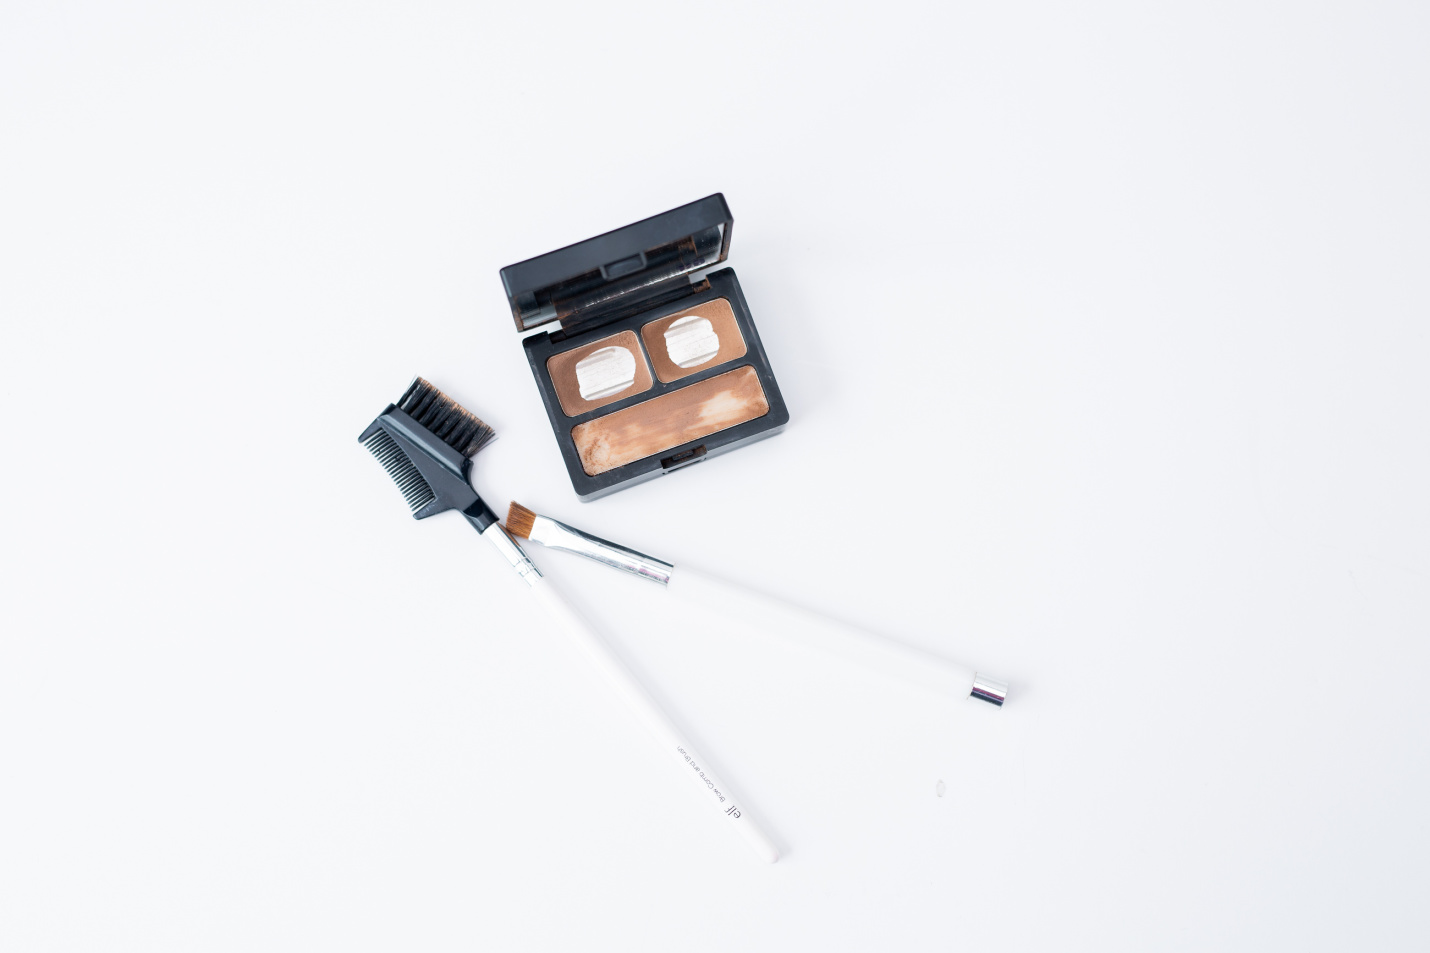
My Eye Makeup Products and Tools
Getting Started
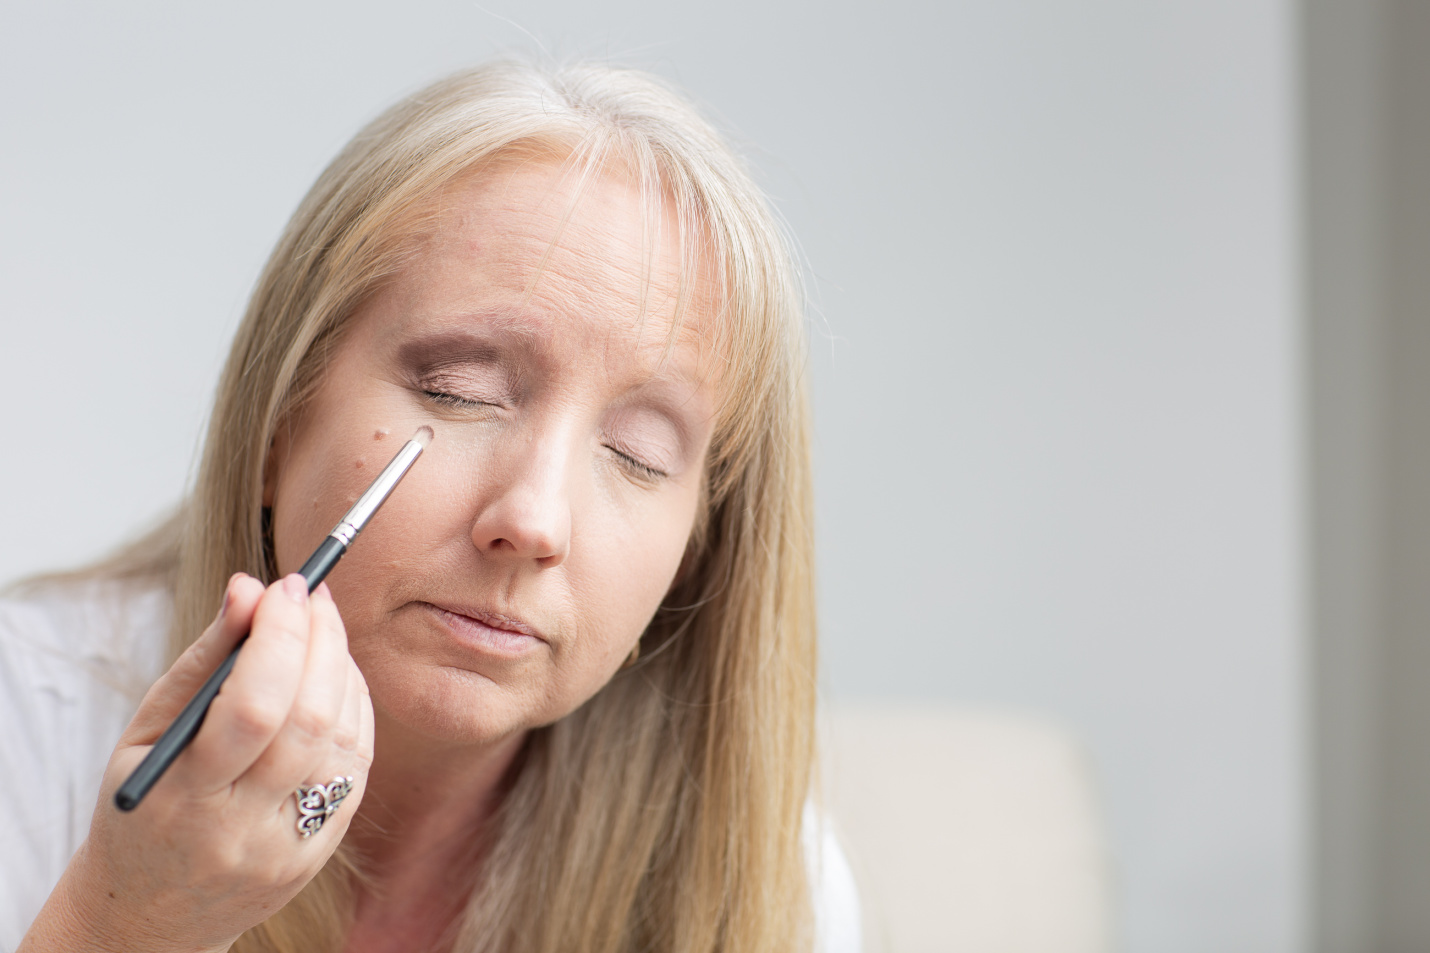
Remember, I’ve already applied the It Cosmetics Confidence in an Eye Cream before applying my foundation. Actually, I usually also apply this Estee Lauder cream eye shadow base at that time, too, so that it has time to dry before applying the rest of my eye shadow.

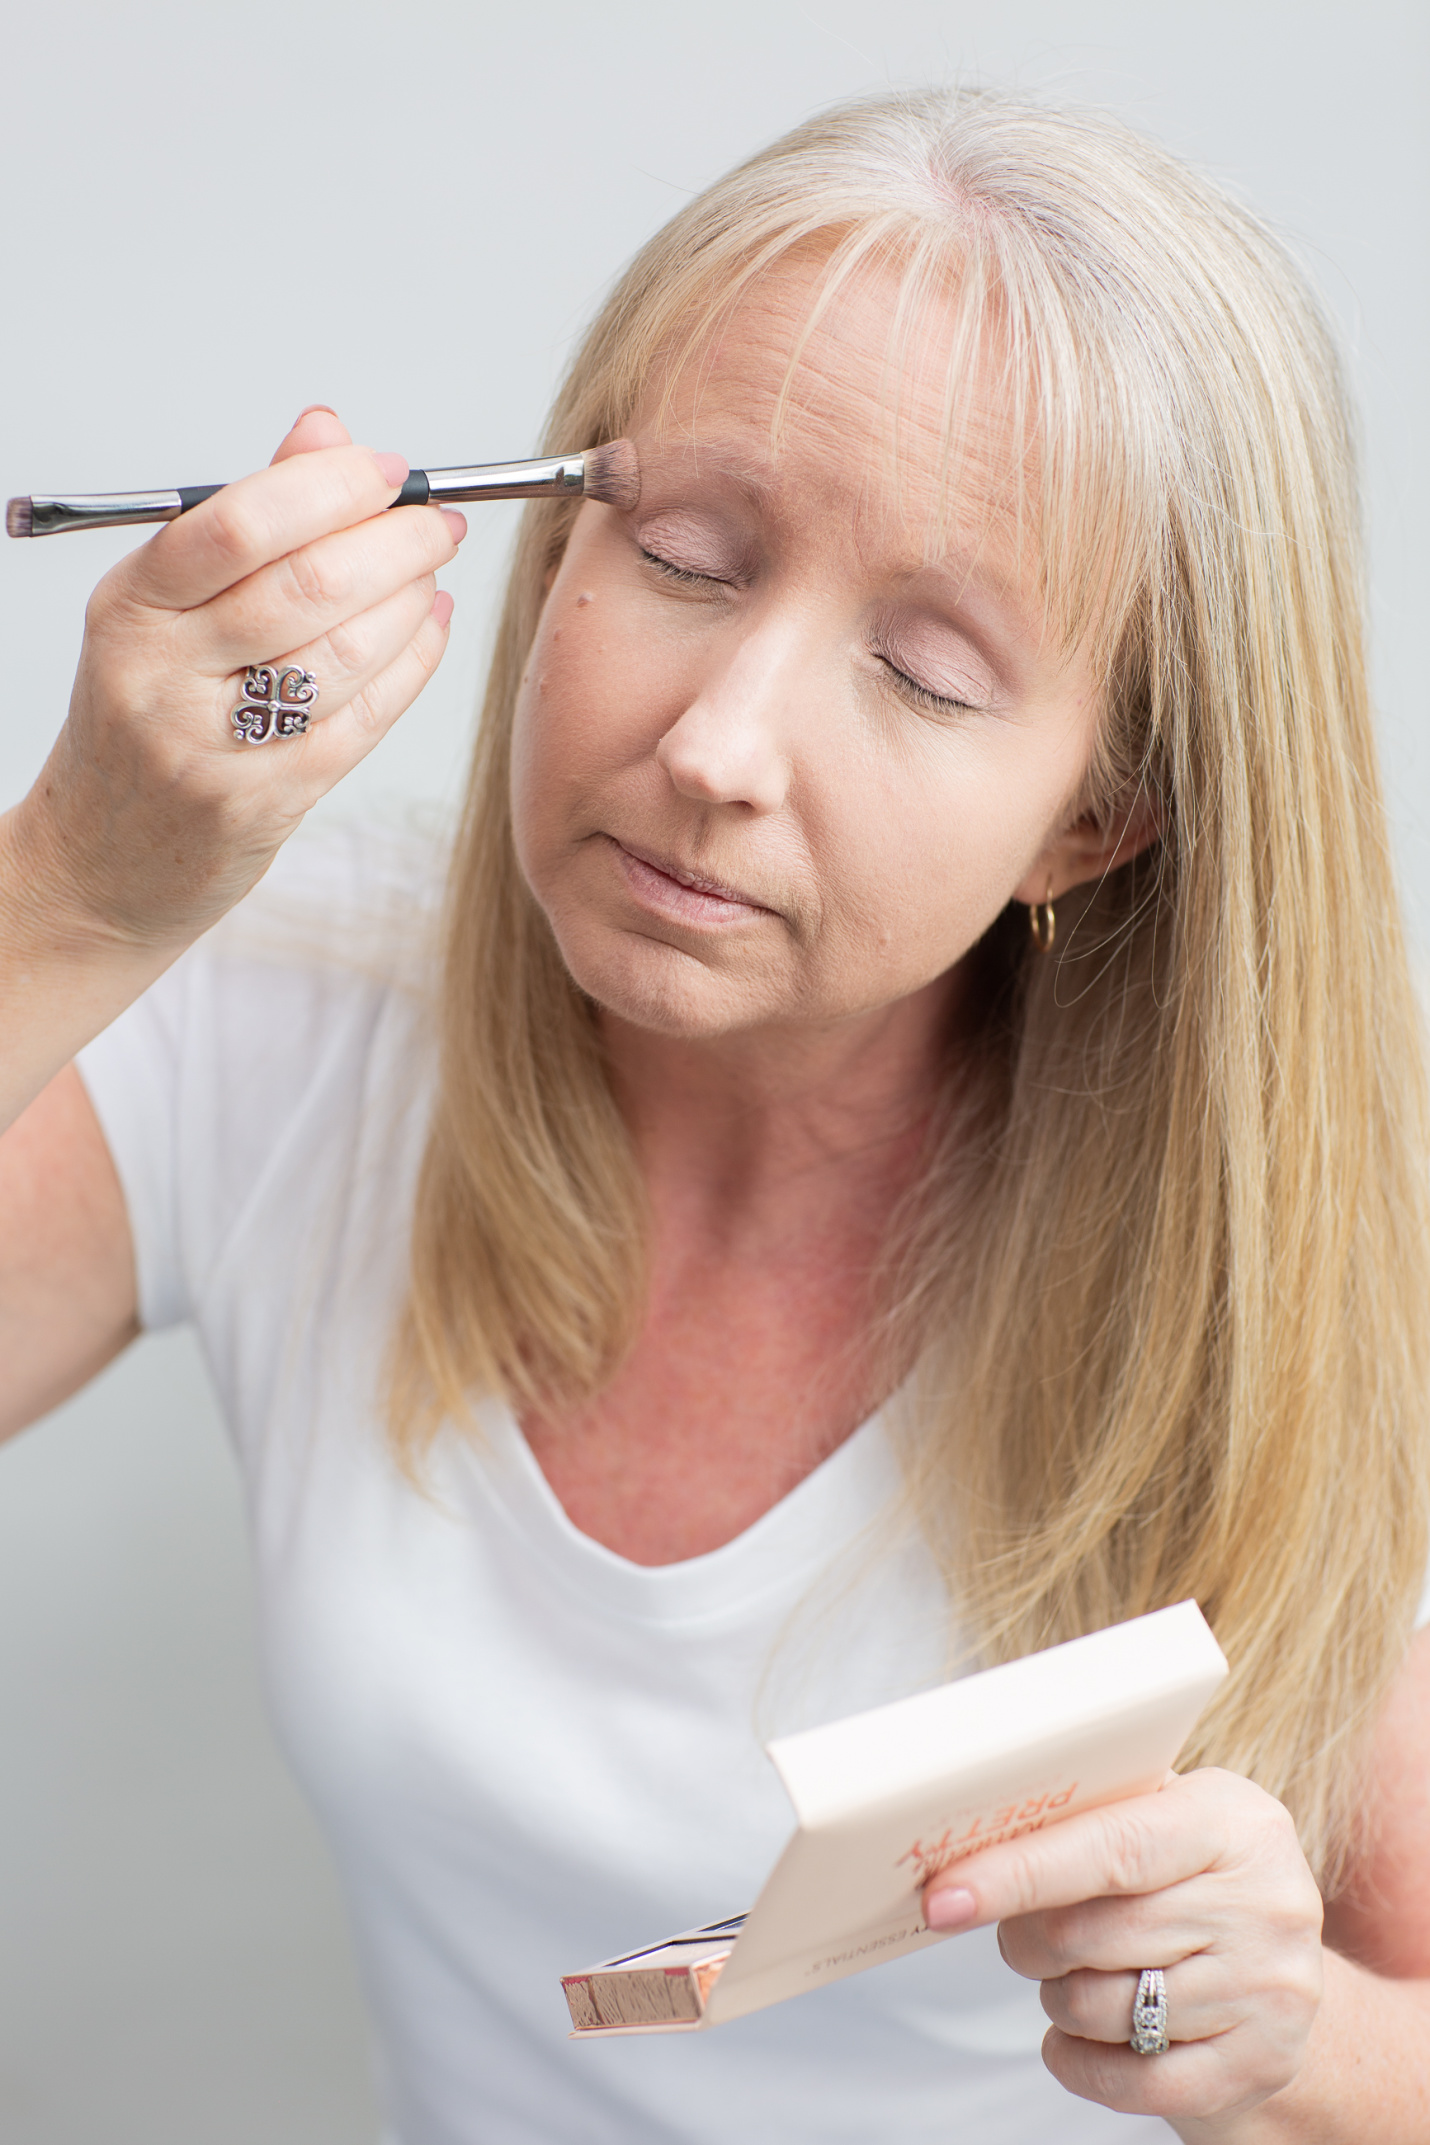
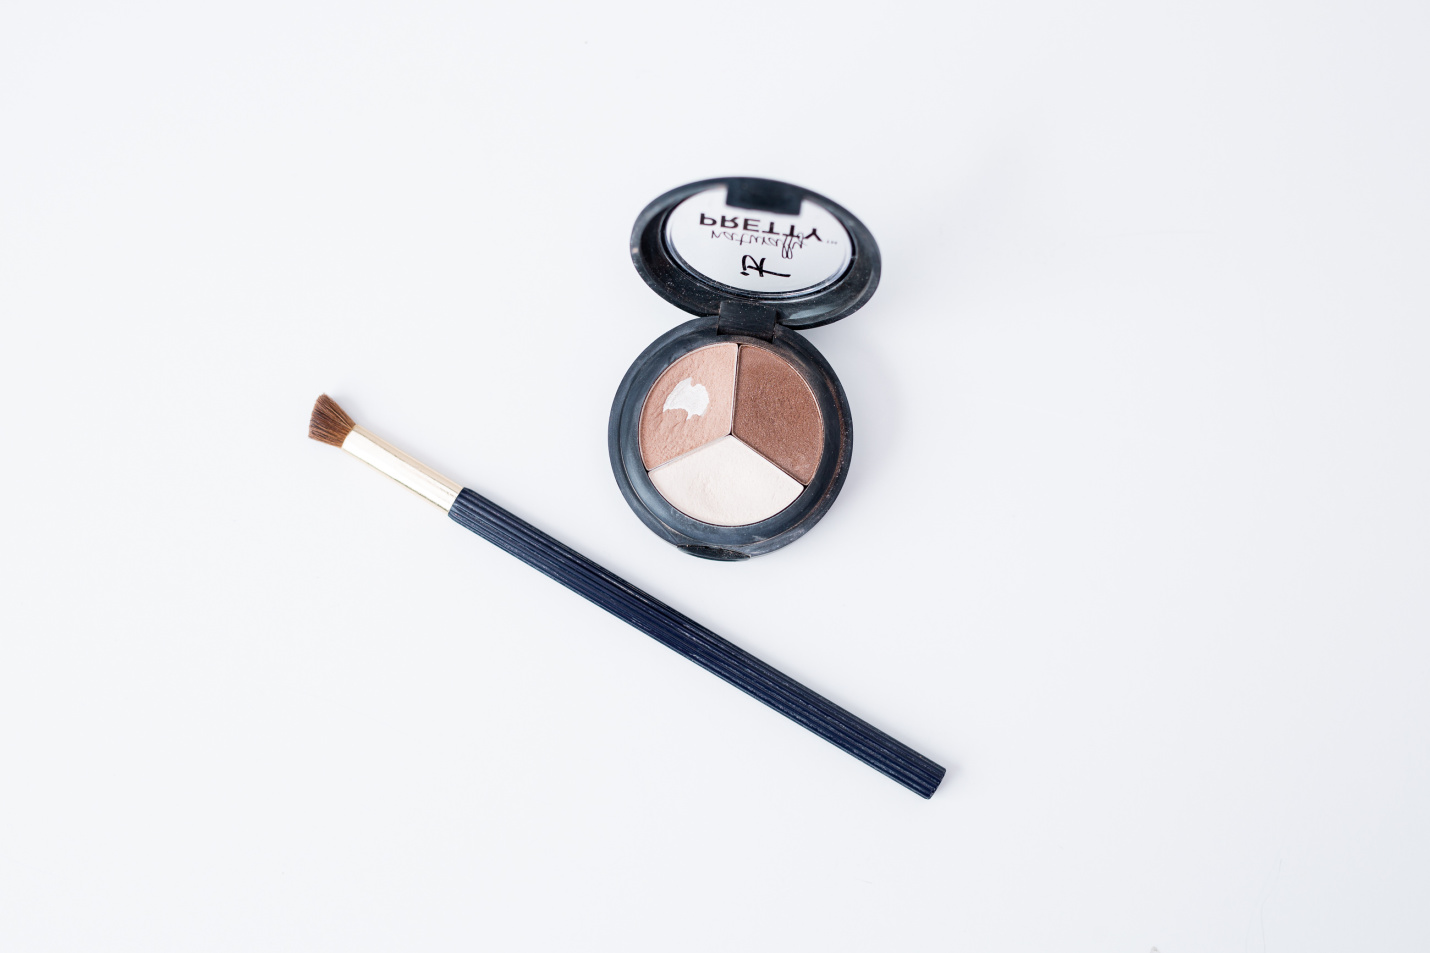
I apply the cream eye shadow base to the entire surface between my upper eye lid and my brows. This base helps the rest of my shadow go on smoothly and flawlessly, and elongates wear time. It really keeps my eye shadow from fading or creasing throughout the day. I can tell a noted difference when I forget this step. I use a wide, flat paddle-like brush like this one.
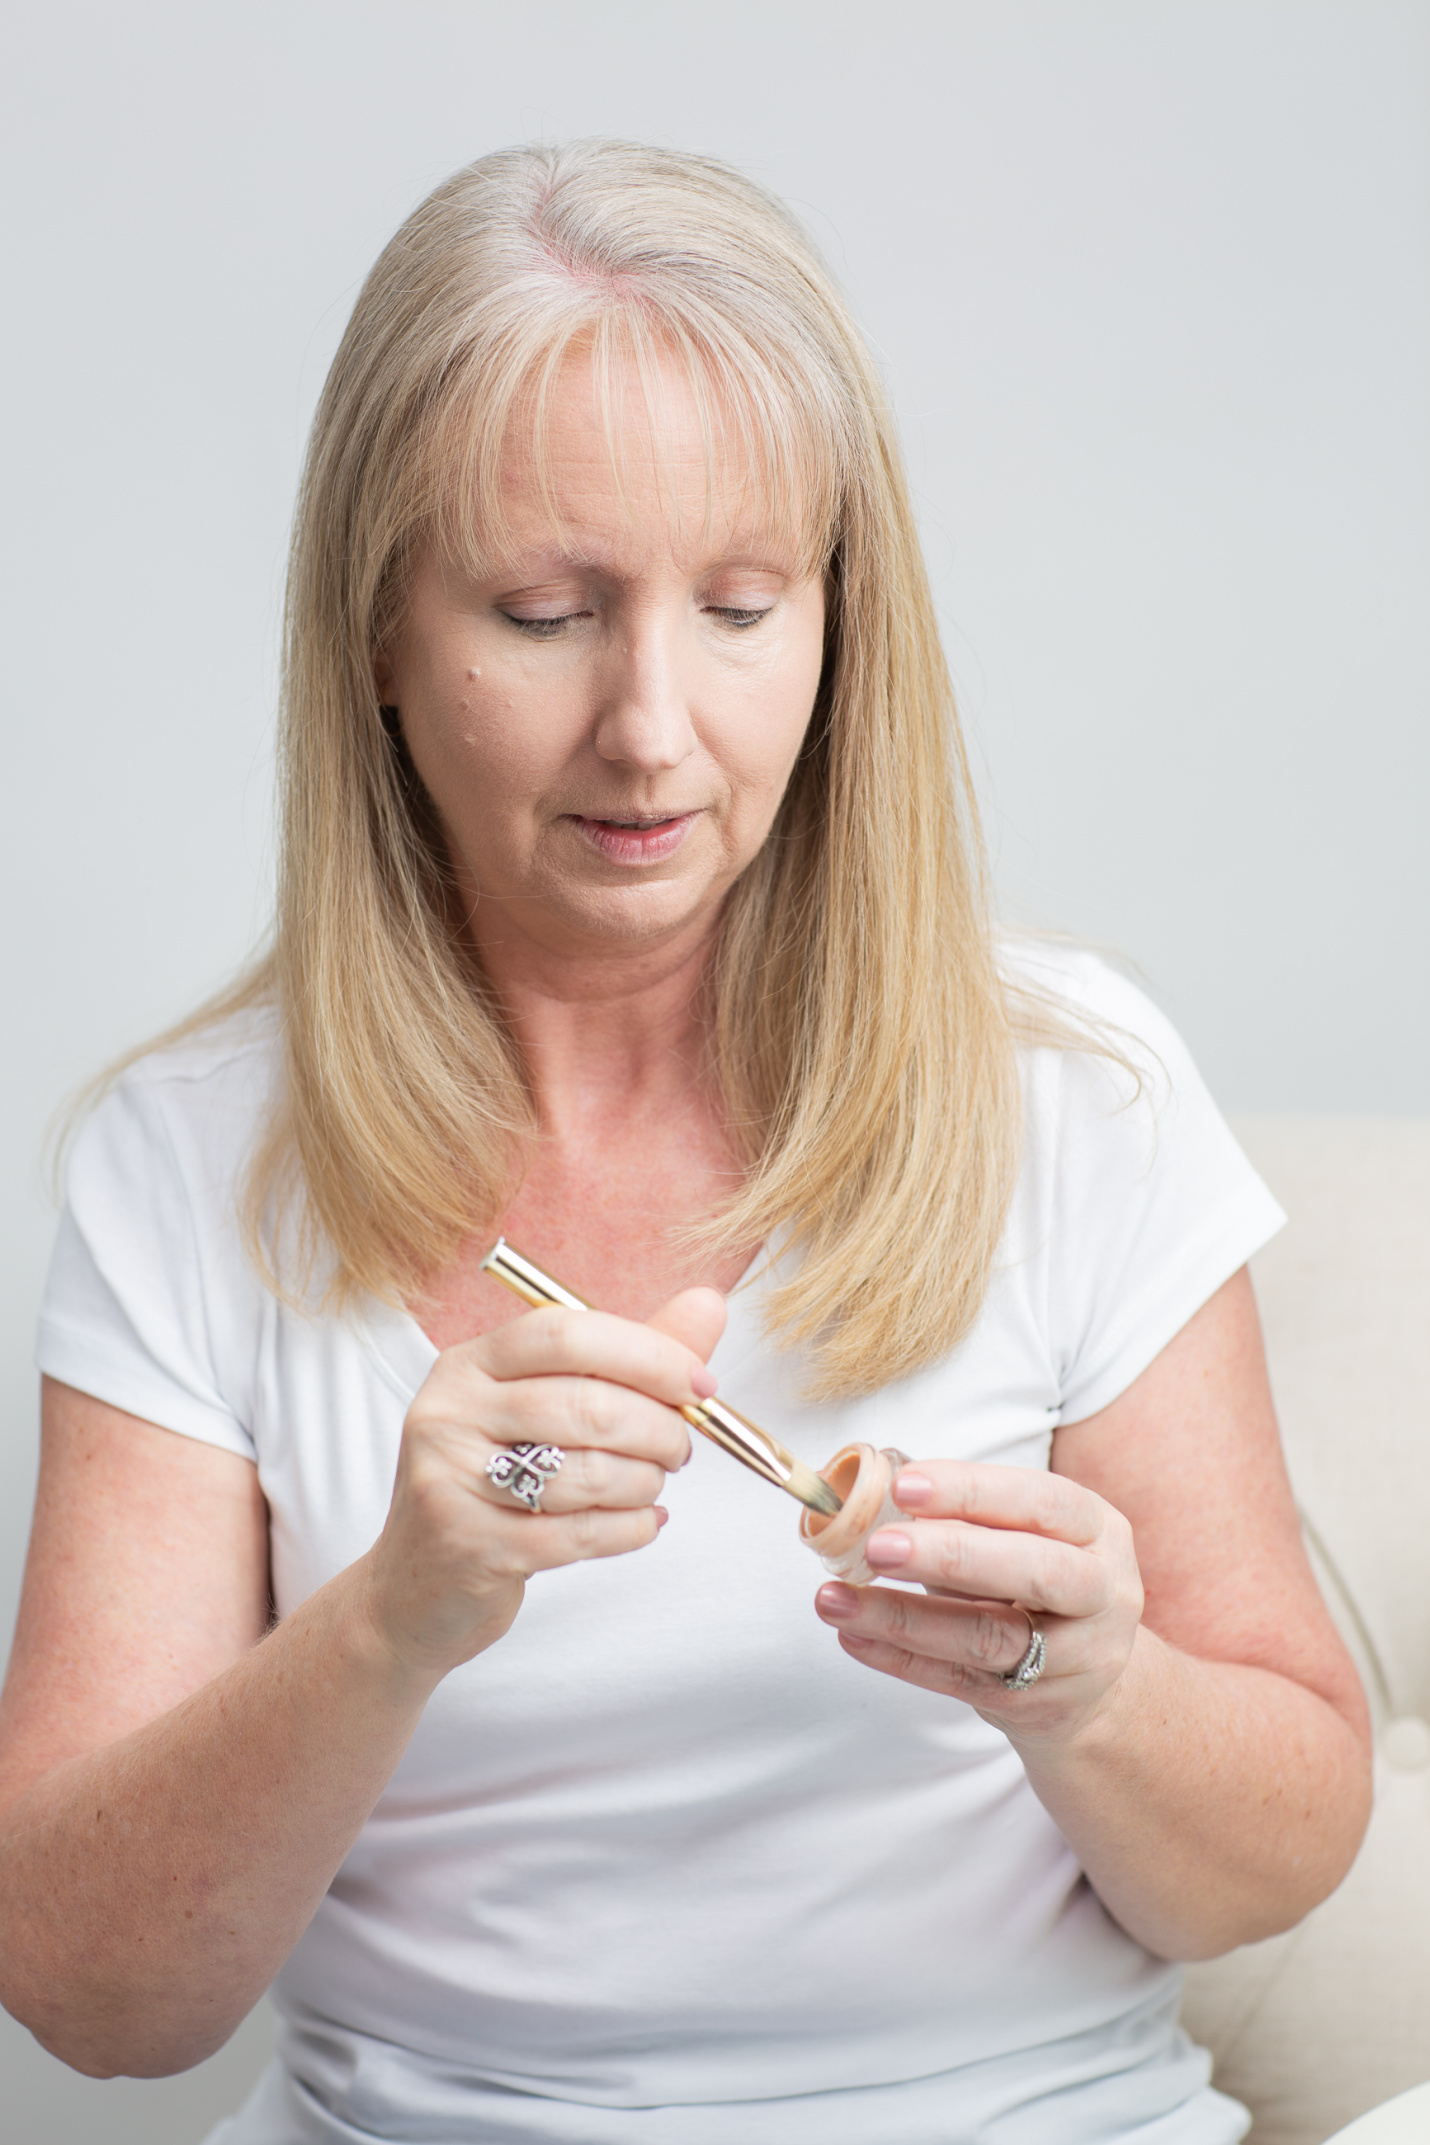
This base is a thick cream, more like a soft clay substance. One jar lasts me for about 6 months or more.
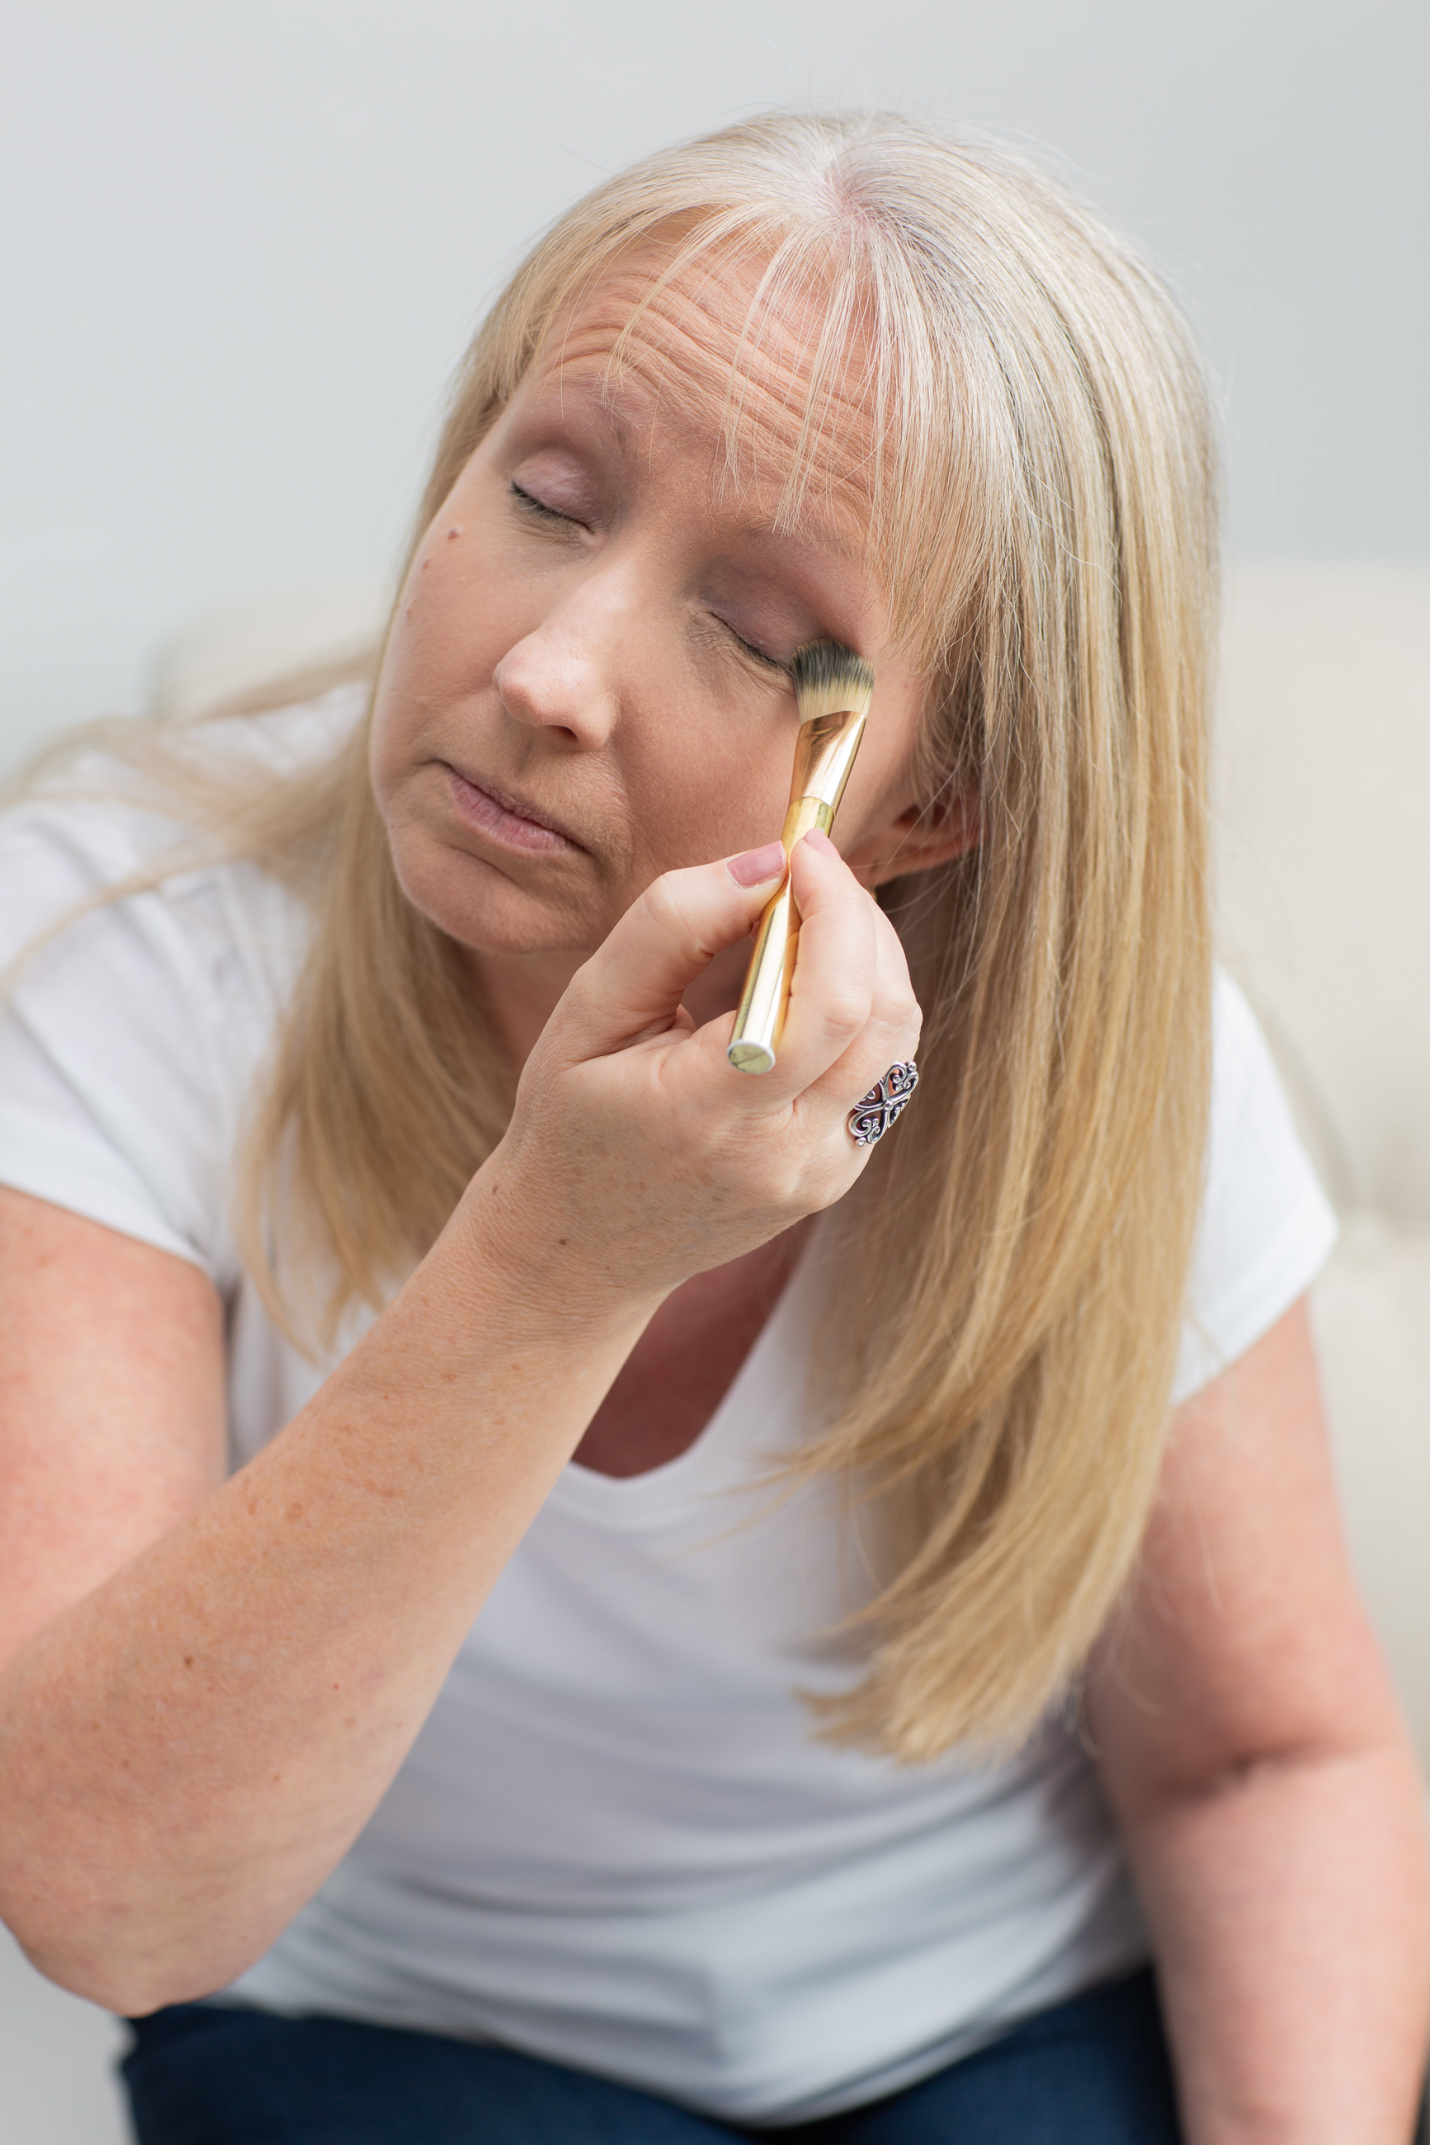
The product goes on looking very much like the color of my skin. I’ll apply powder shadow over this entire surface. I just need a thin layer.
Eye Shadow Application
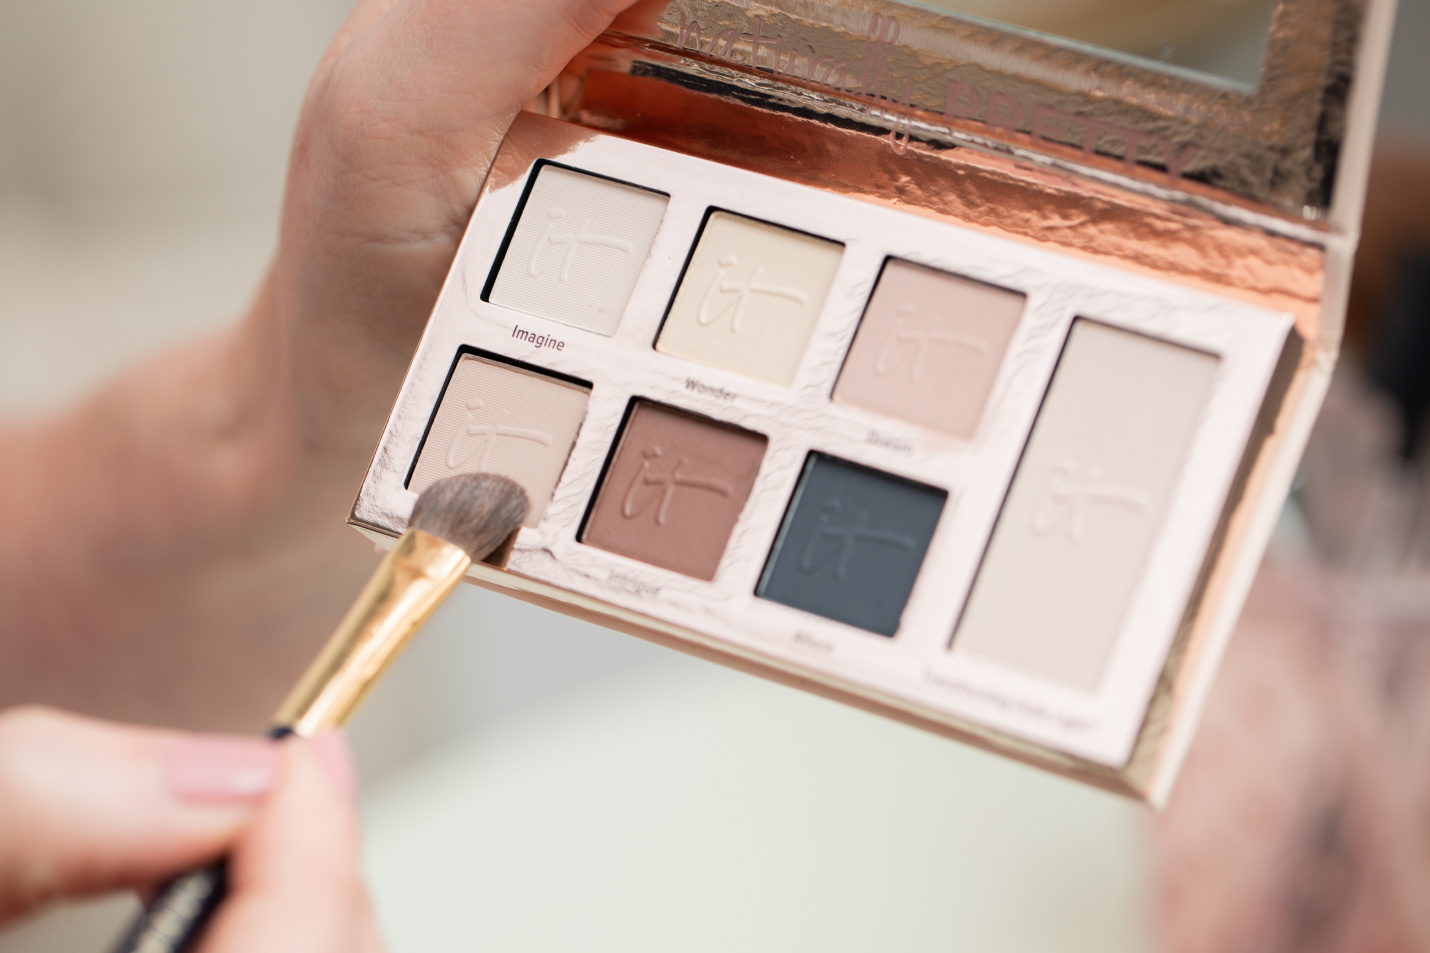
Next I apply various shades of the It Cosmetics Naturally Pretty Essentials Matte Luxe Transforming Eyeshadow Palette. My goal is to create a natural contouring that frames and illuminates my eyes. I’m using the shades more to contour than to add color.
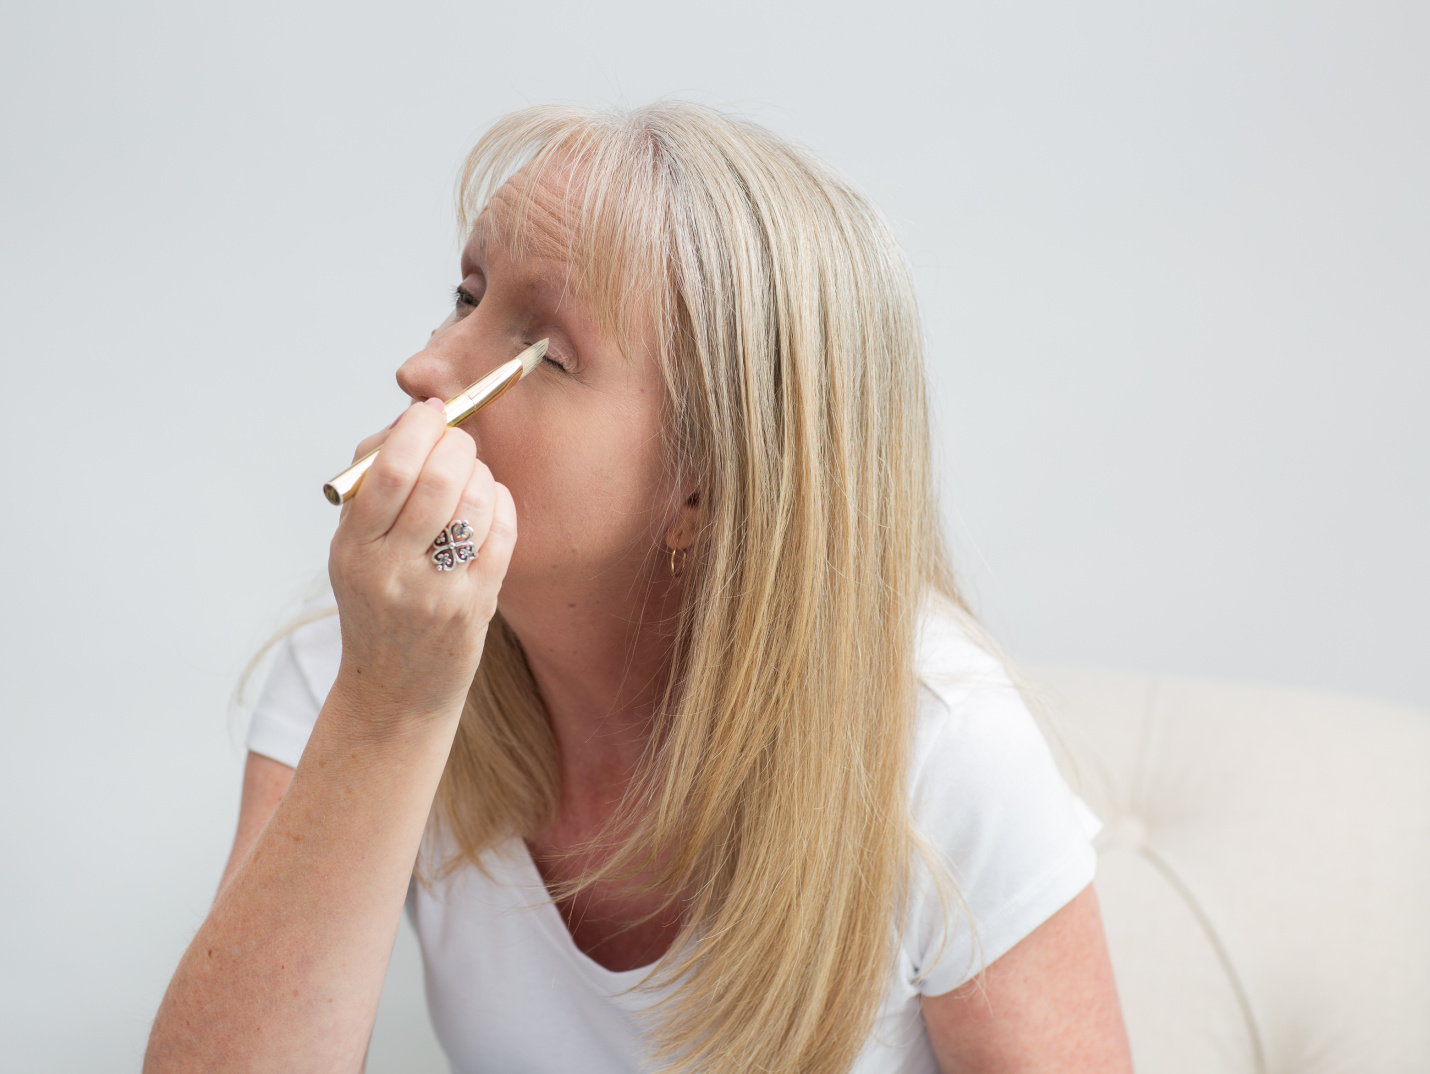
I use the Dream shade (3rd shadow on top row) to cover the surface of the lower portion of my eyelid, the area covering my eyeball when I close my eyes. (I apologize for my clumsy terminology beforehand!)
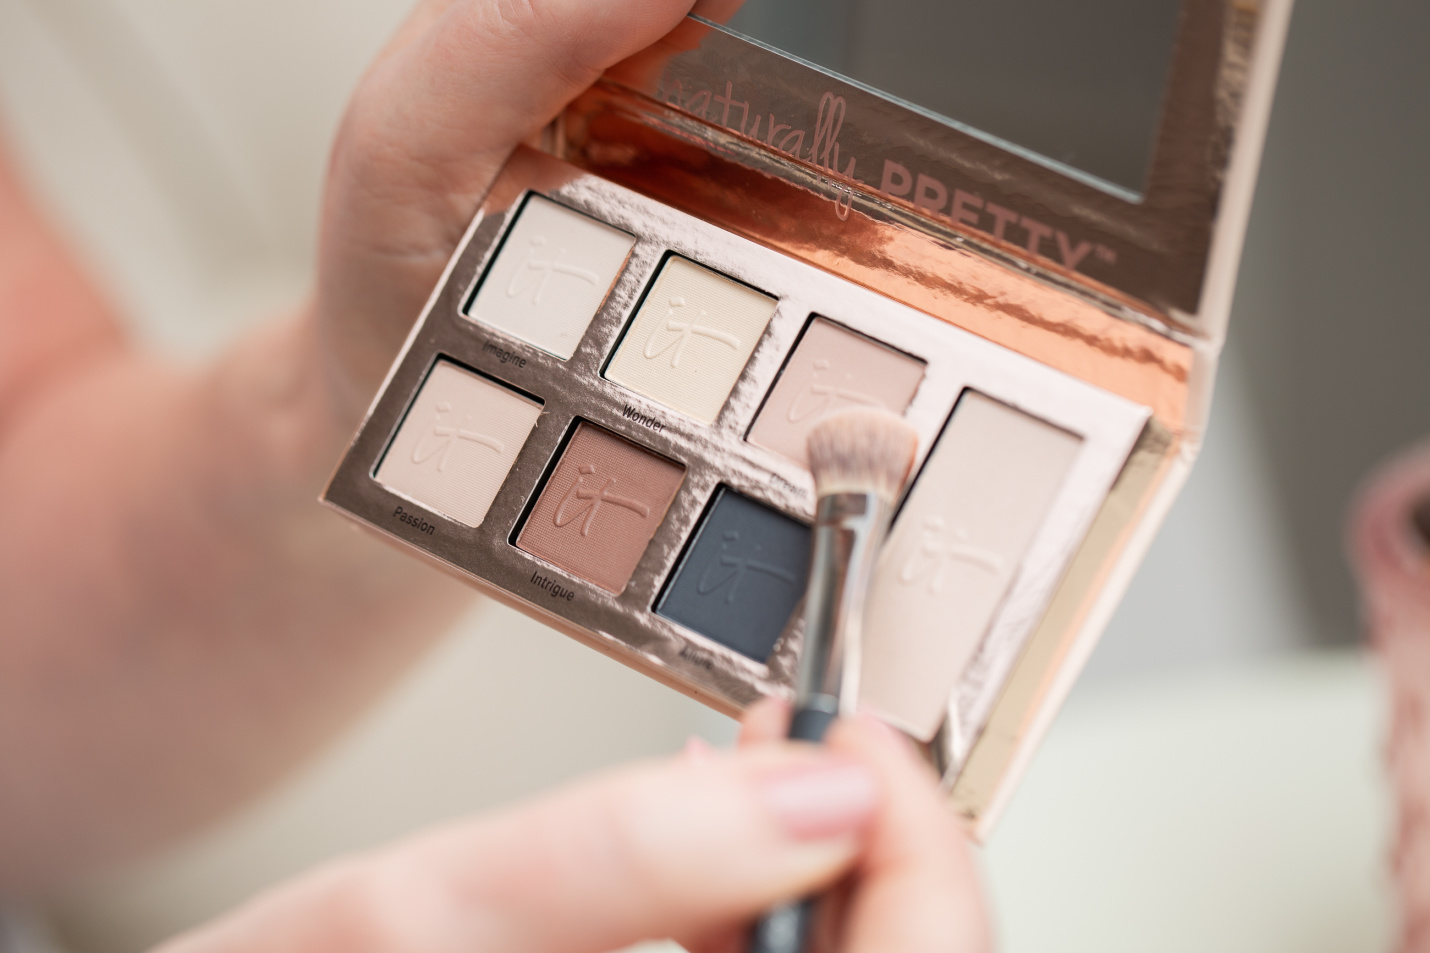
I use this dual eyeshadow brush to apply the Dream shade.

Next I use the same brush to apply a mixture of the first two shades on the top row, the Imagine and Wonder, to the upper portion of my eyelid, the portion from the crease to the brow.
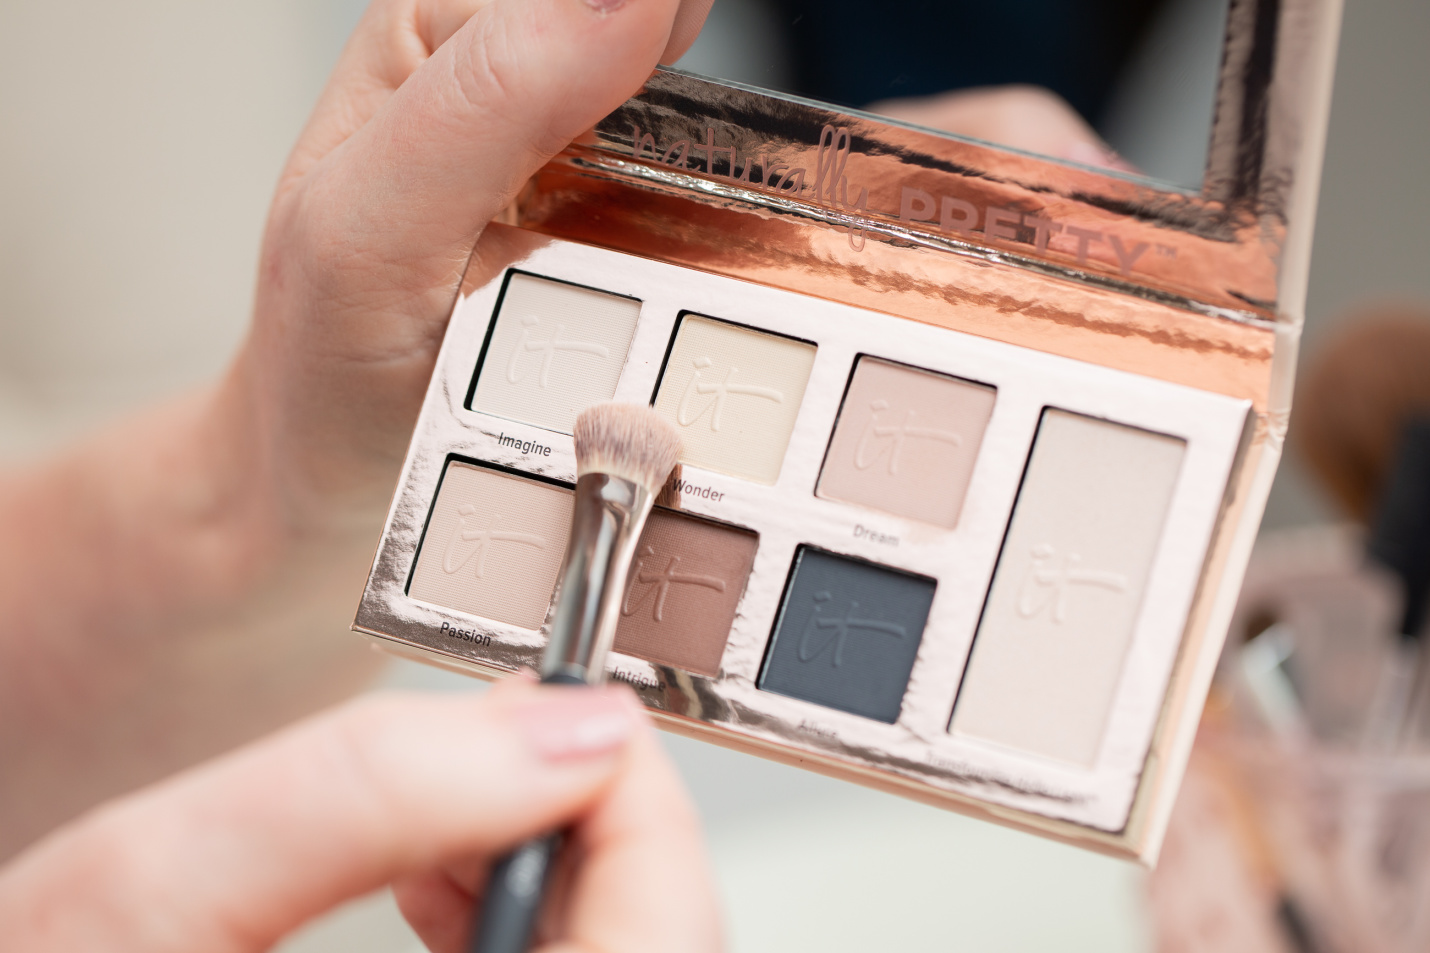
Next I use something like this angled contouring brush to apply the first shade on the bottom row, the Passion, to the area in the crease and just above, mostly on the outer portion of my eyelid. This shade is just a touch darker than the shades previously applied. I make kind of a boomerang shape with this shadow.
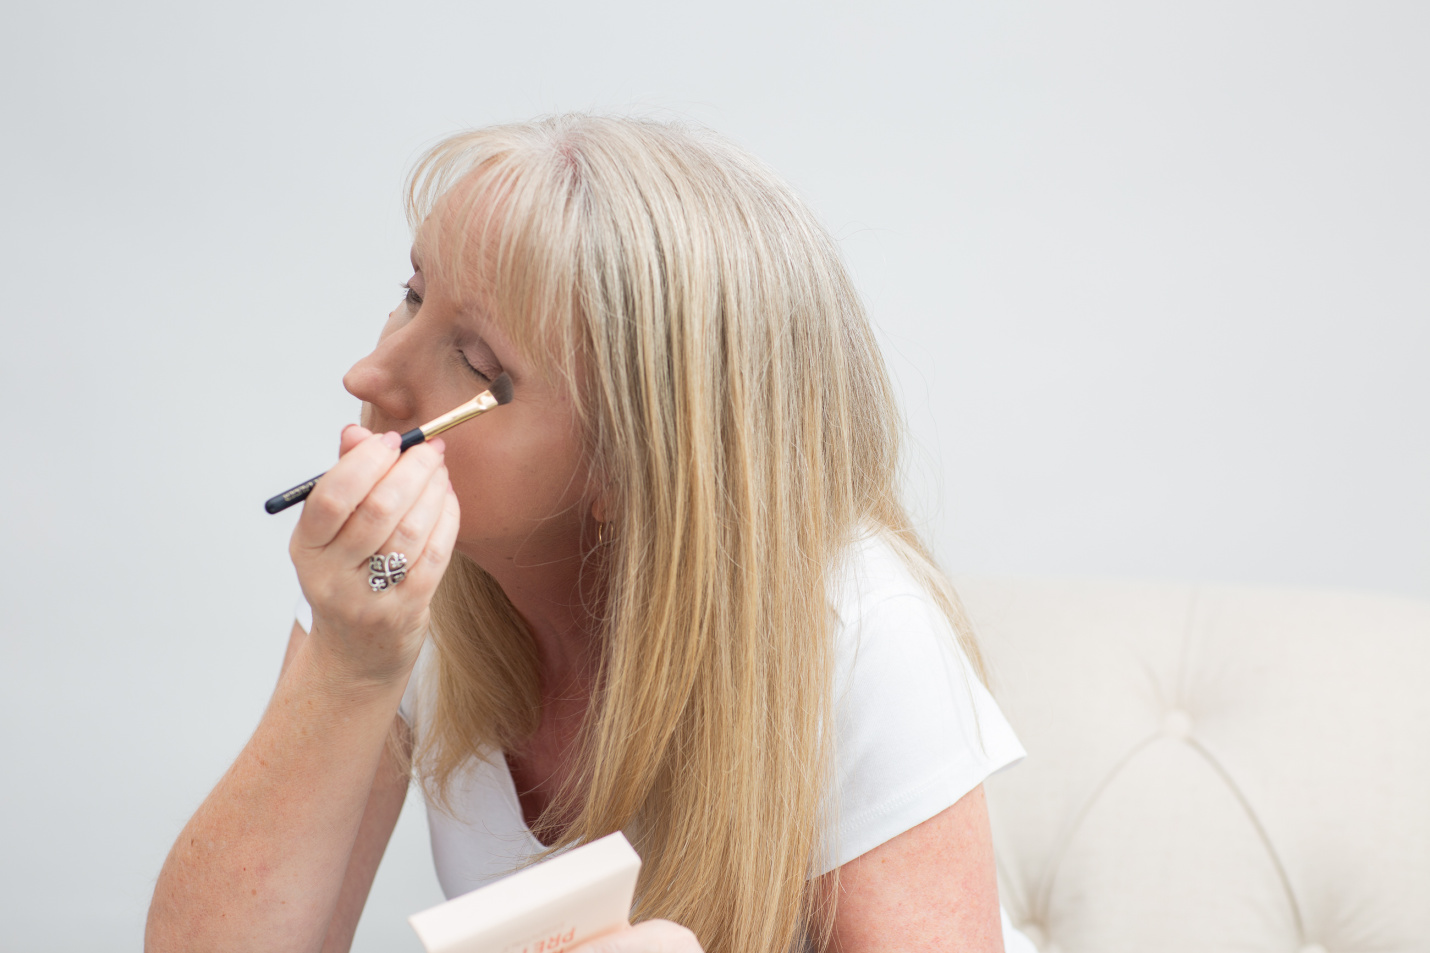
(Excuse the strange angles in which I’m sitting, please. What you can’t see here is that my husband is holding a mirror for me off camera, and I’m leaning in to see myself in it.)
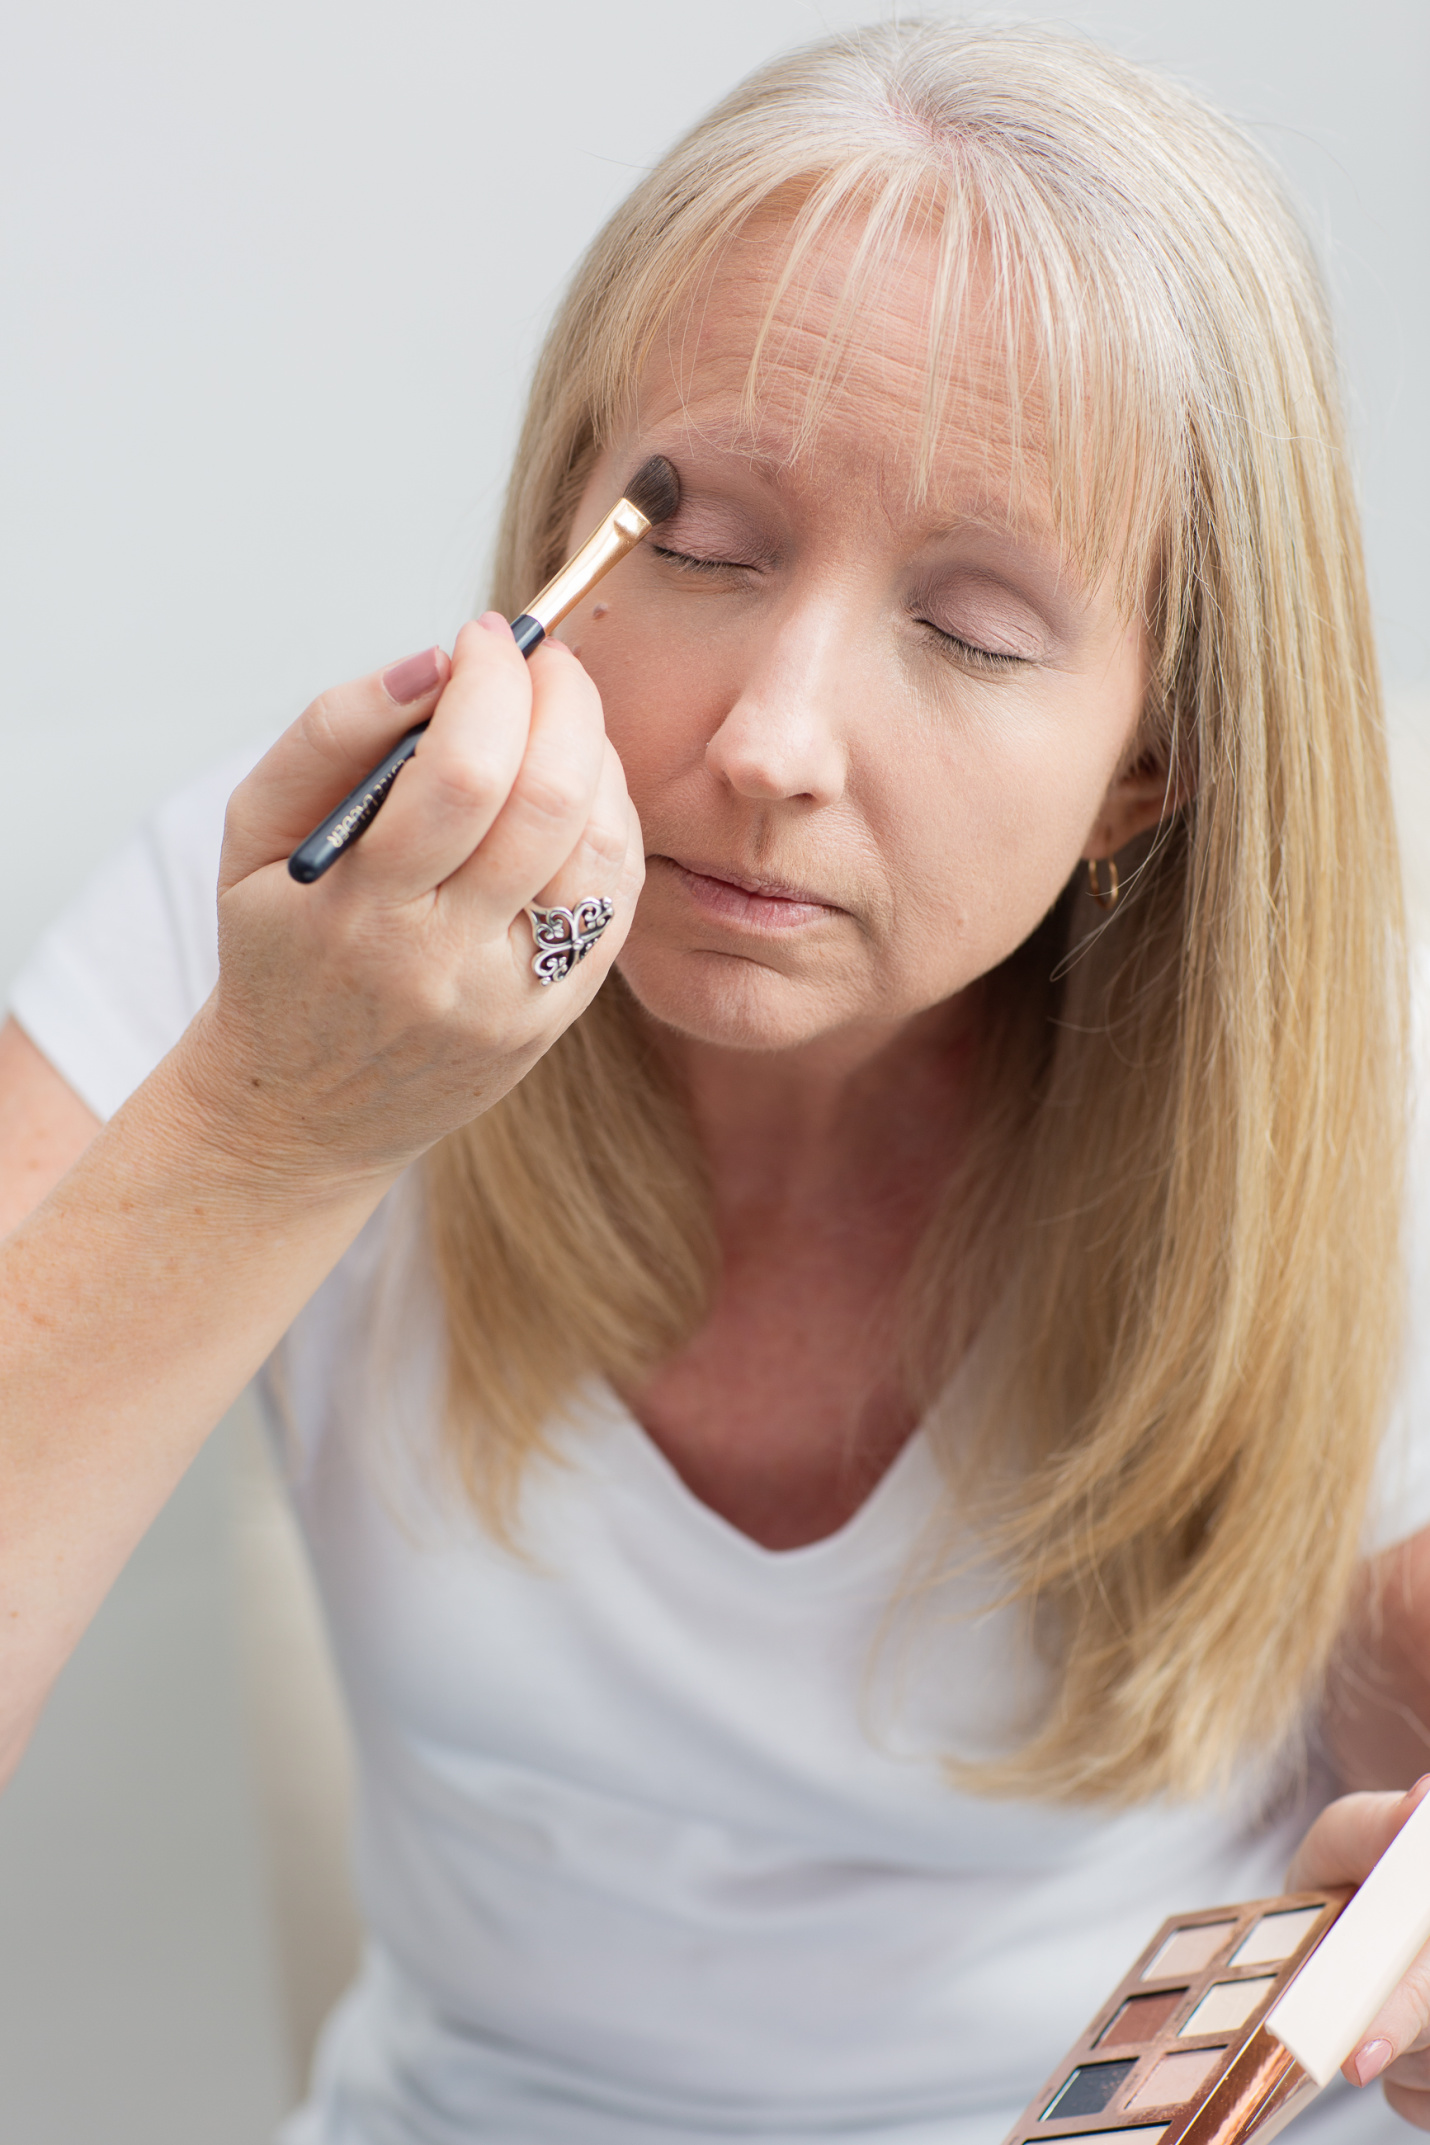
Finally, I use the dark brown shade in the palette, Intrigue, in the crease and just above on the outer portion of my eyelid.
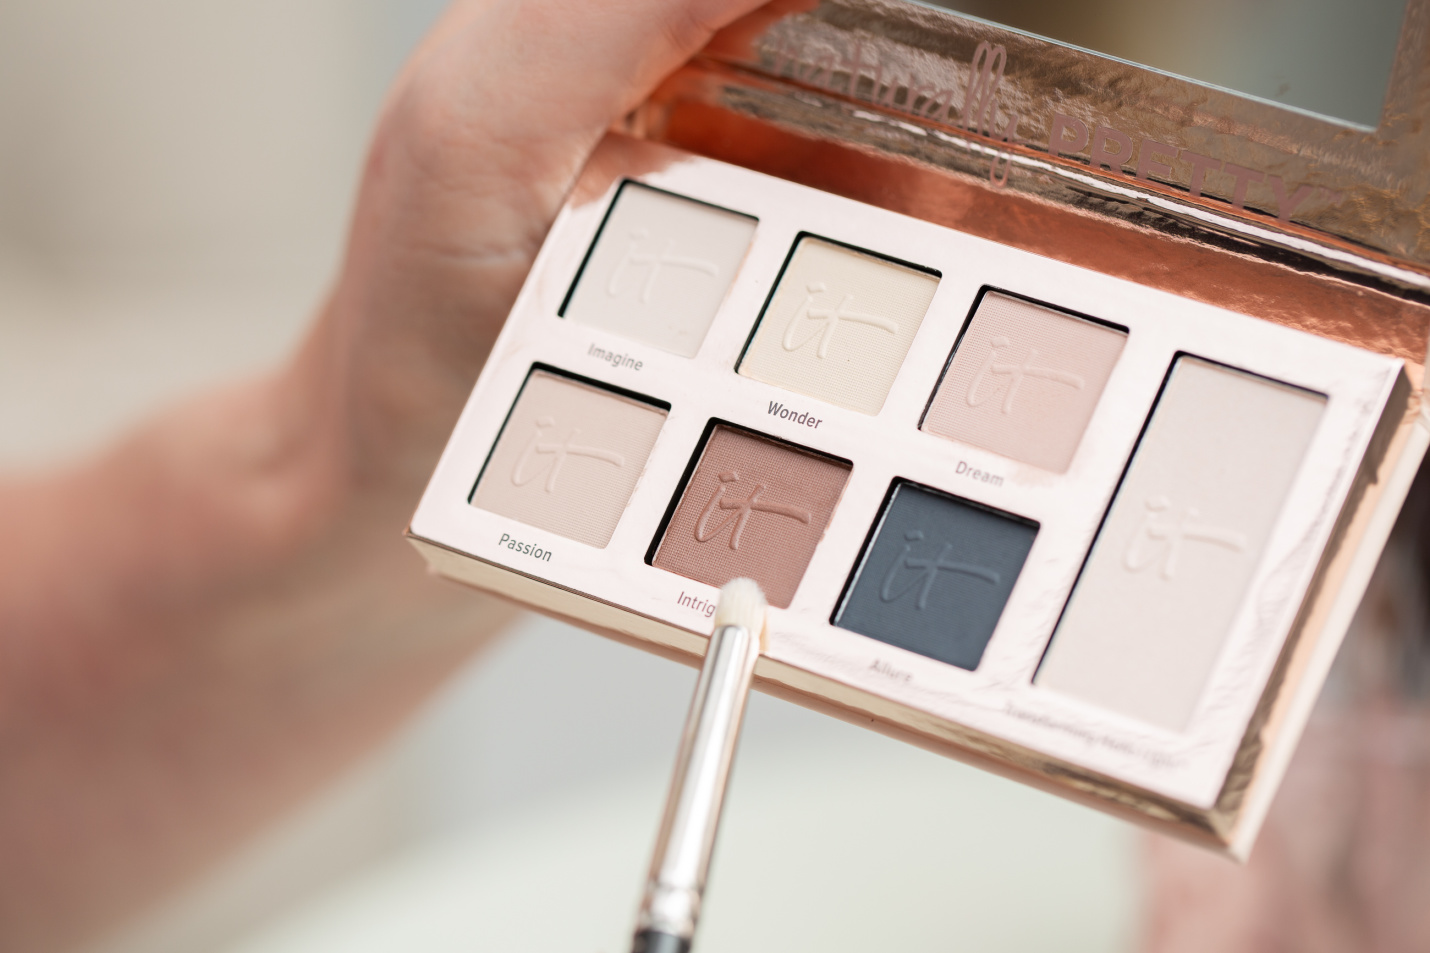
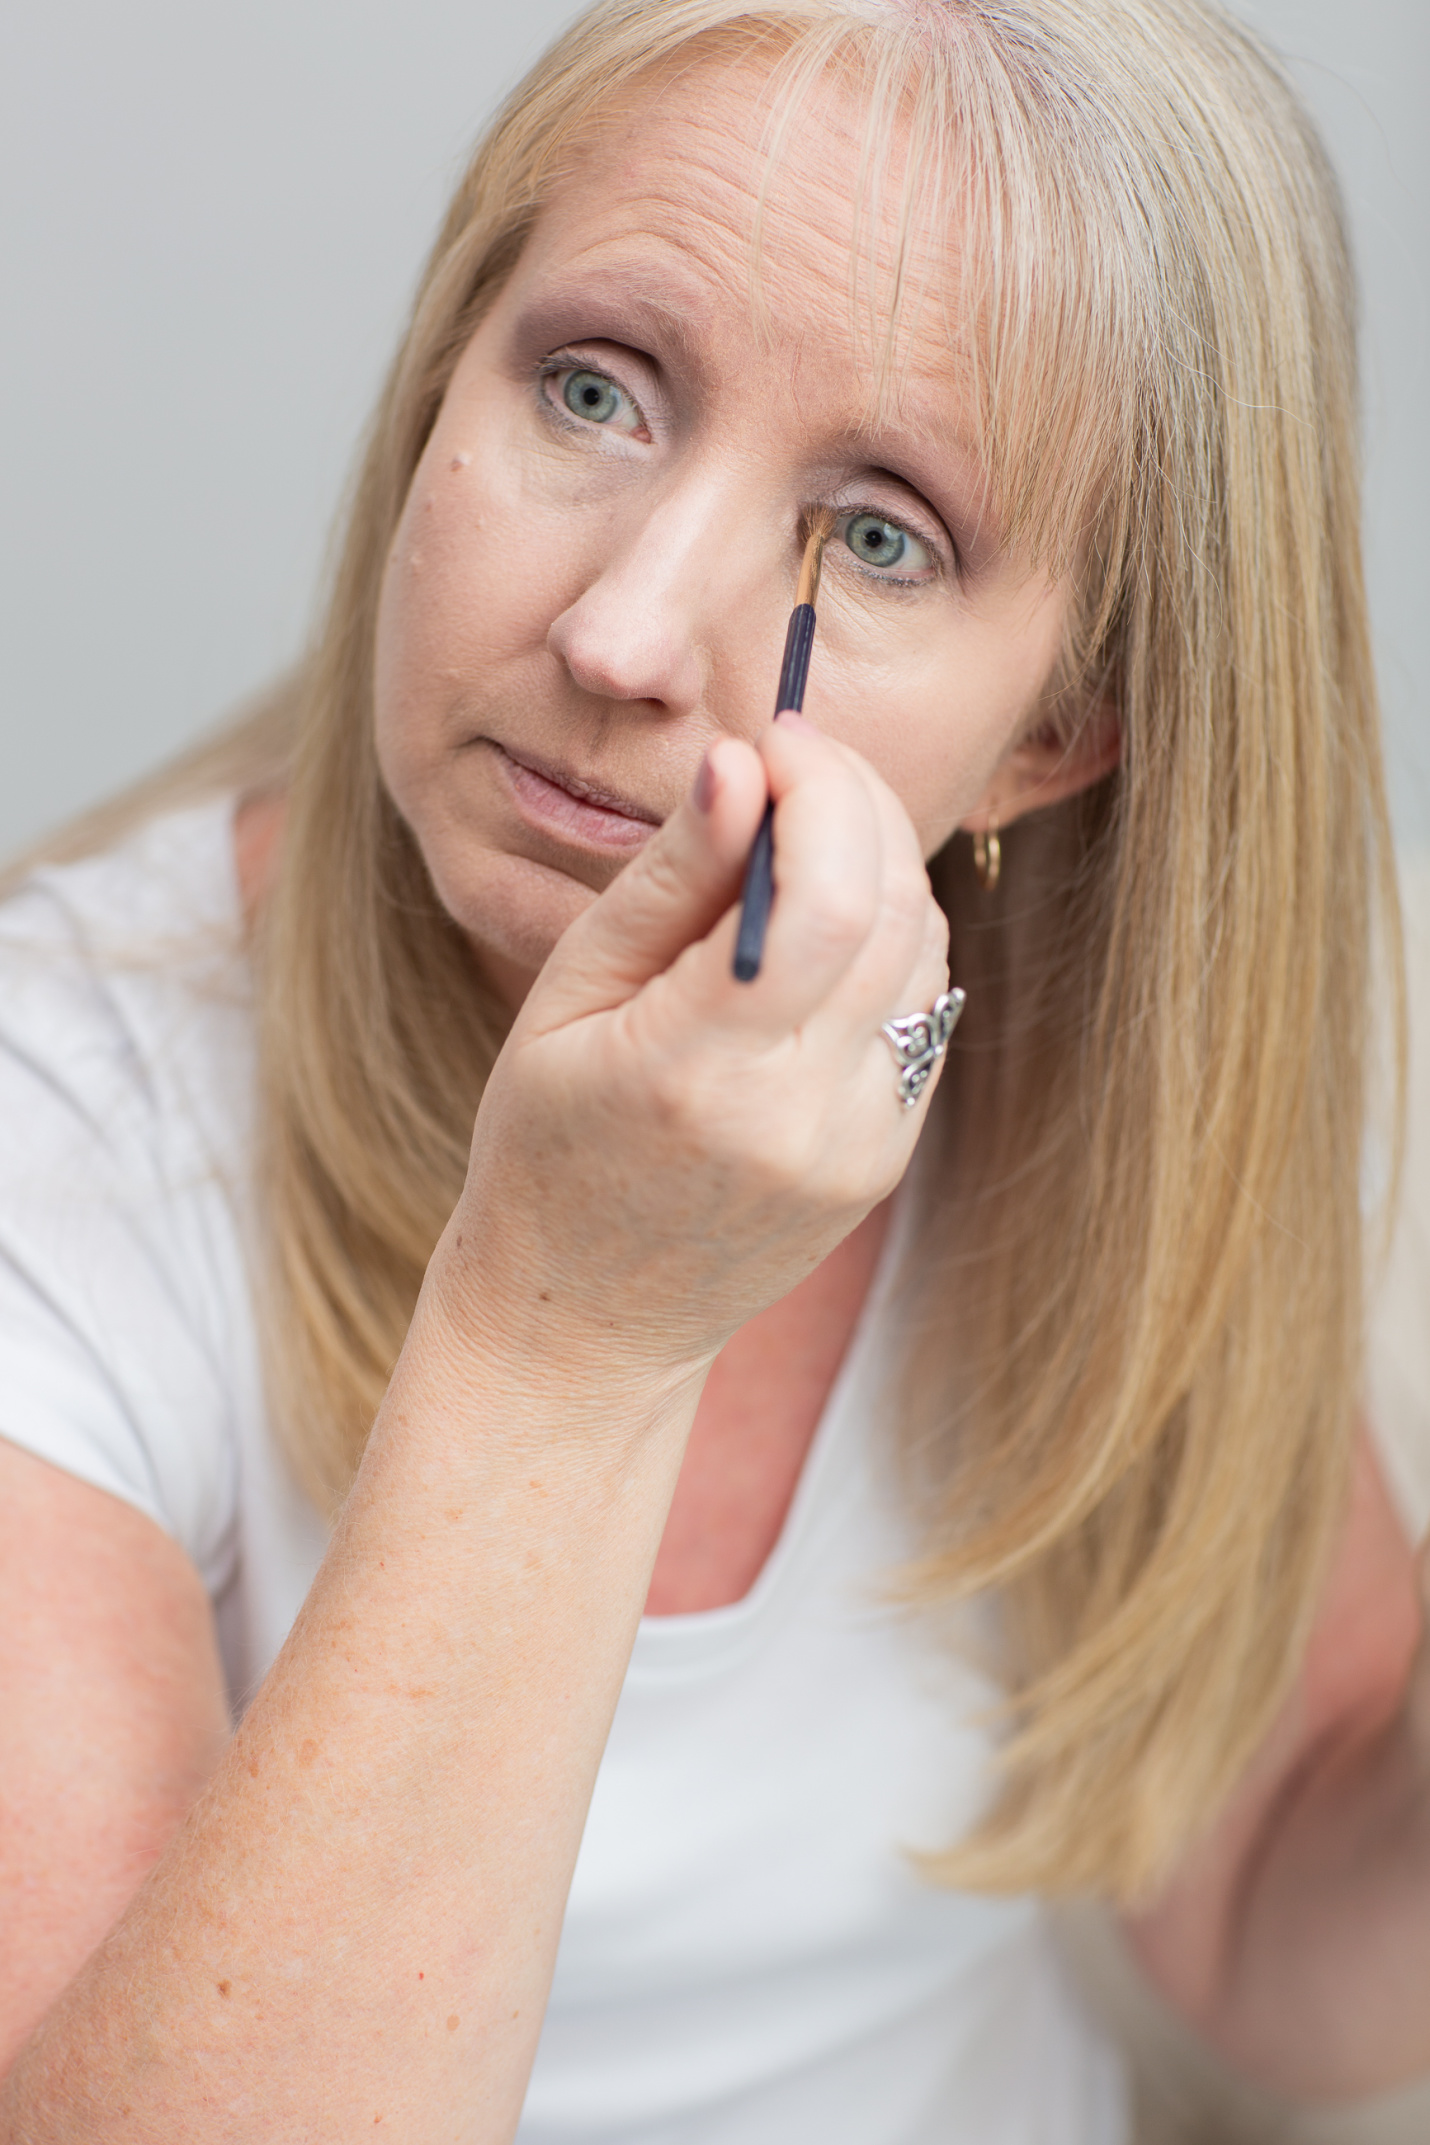
I use a small shadow brush to maintain control over the application of this dark shade. Also, a little of this shade goes a long ways. I just dab my brush into this color a couple of times and then tap off the excess before applying very carefully. This shade has a lot of pigment.
At this point, the brown shade looks very dark and a little scary. That’s okay.
The above photo shows how my completed application of shadow looks before blending.
Somehow we completely missed getting a photo of the blending process, which is odd because I blend a lot! Use a full, fluffy blending brush to first blend the lighter portion of the shadows and then the darker. Really, this just takes practice. The idea is to blend without creating a muddy look. But don’t be afraid to blend and blend and blend.
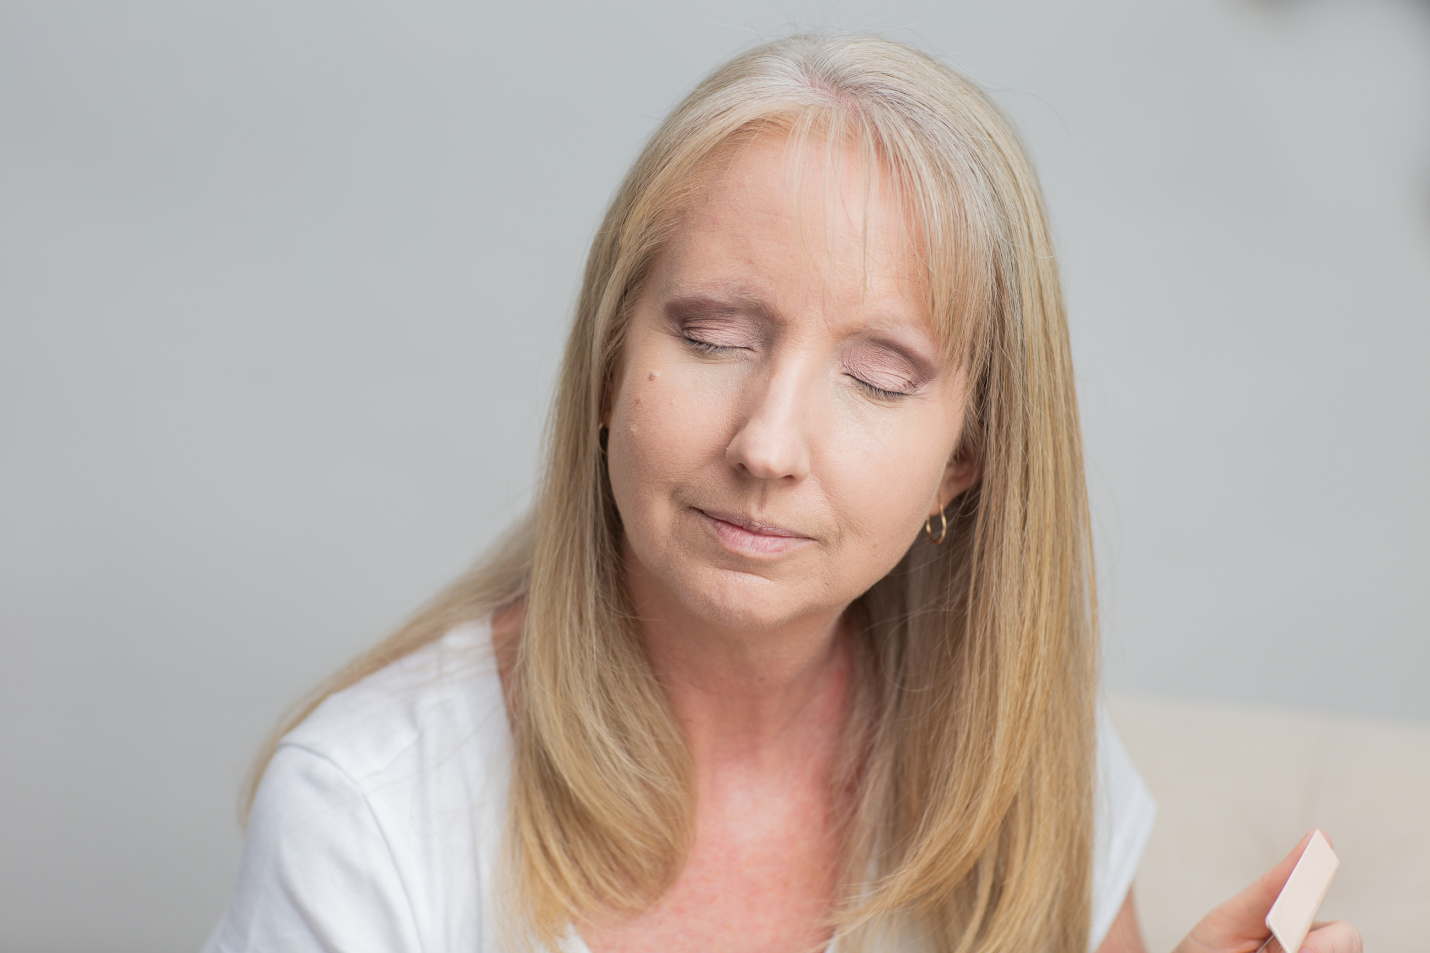
The photo below shows what my shadow looks like after I’ve blended. Huge difference.
Sometimes, especially if I’m taking photos, I’ll also dab just a touch of the lightest shade in the Matte Luxe trio to the inner corners of my eyelids.
 I literally just touch the brush to my inner eyelids to apply just a light dusting of the product. This little light really helps open up your eyes and make them shine.
Finishing Touches
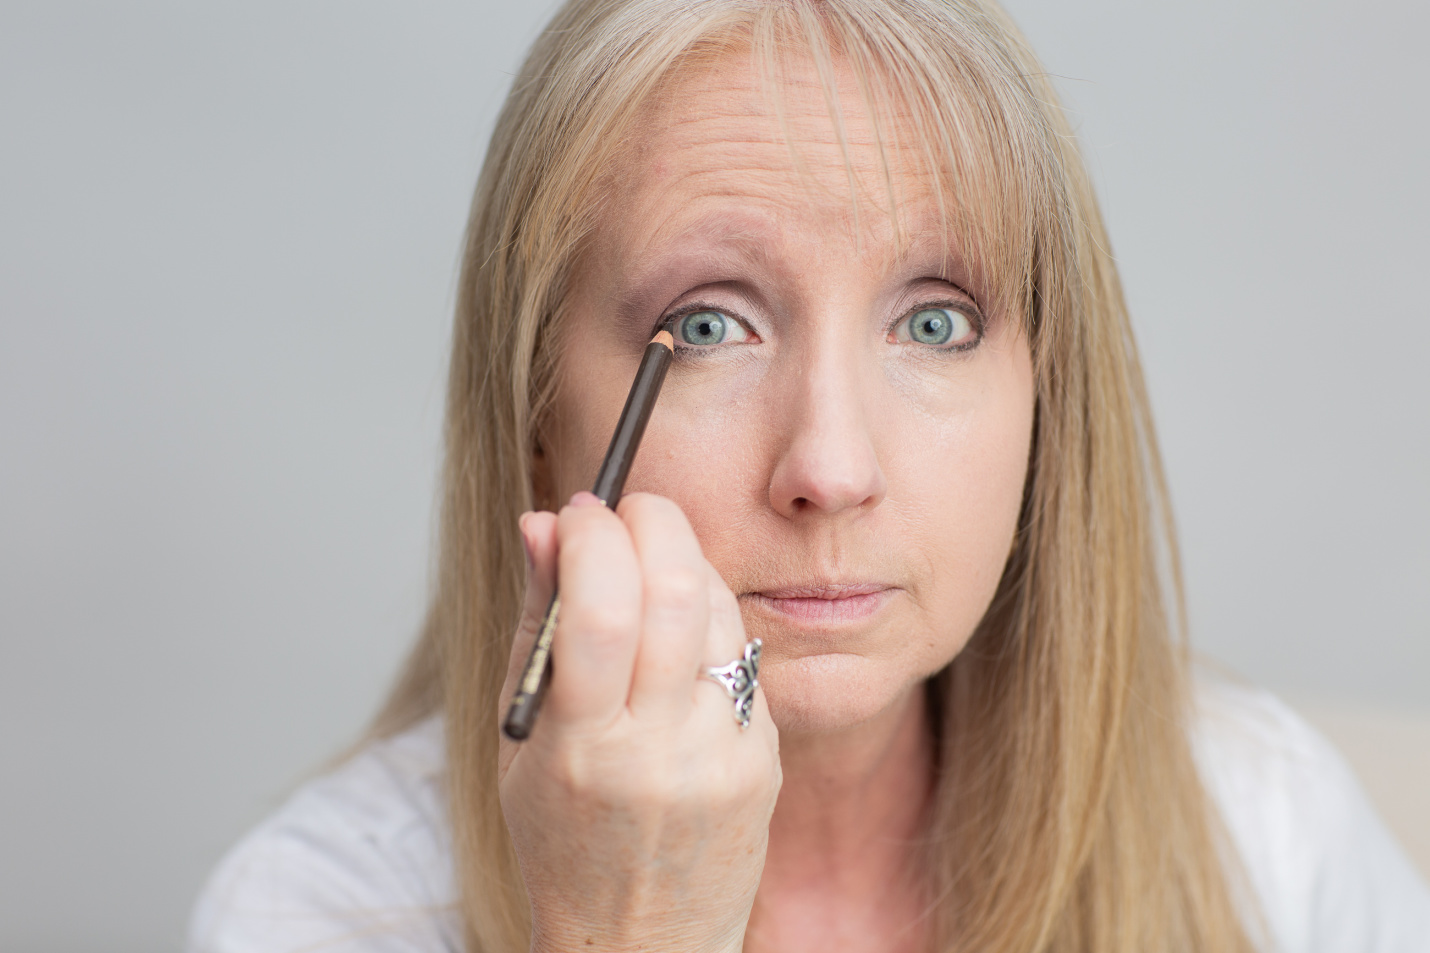
As we age, it gets decidedly more difficult to apply eyeliner. Can I get an “amen?” And really, we don’t need much eyeliner as we get older. I prefer to use a soft pencil so that I can then smudge the product, creating a soft border instead of a harsh line.
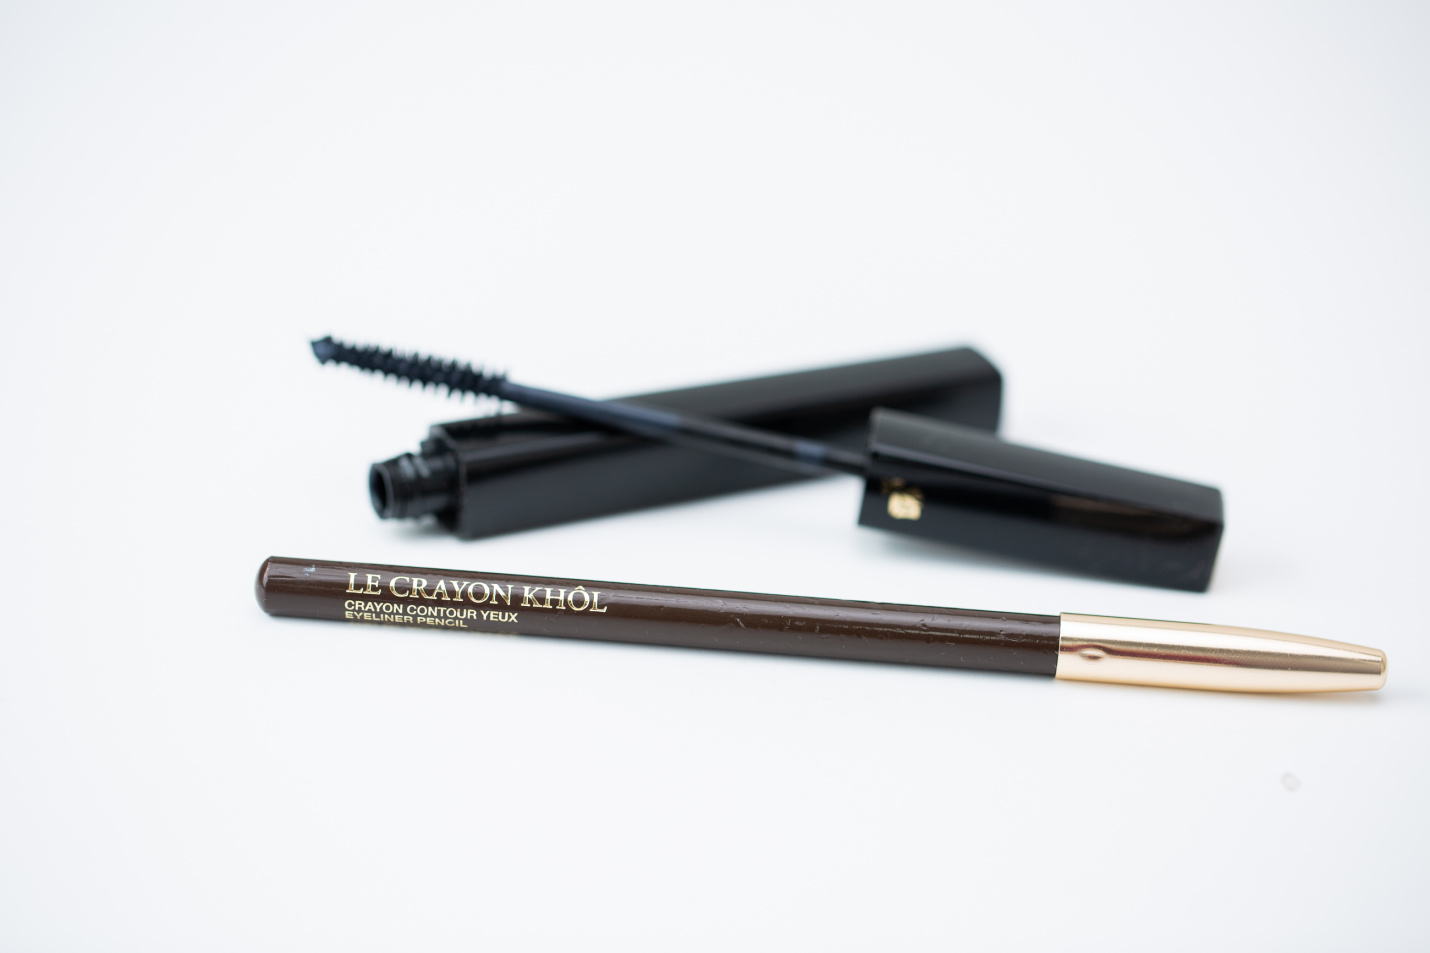
That’s why I highly recommend this Lancome le Crayon Khol eyeliner pencil. It is a very soft pencil and the easiest I’ve found to apply. I use the moss shade, a soft brown.
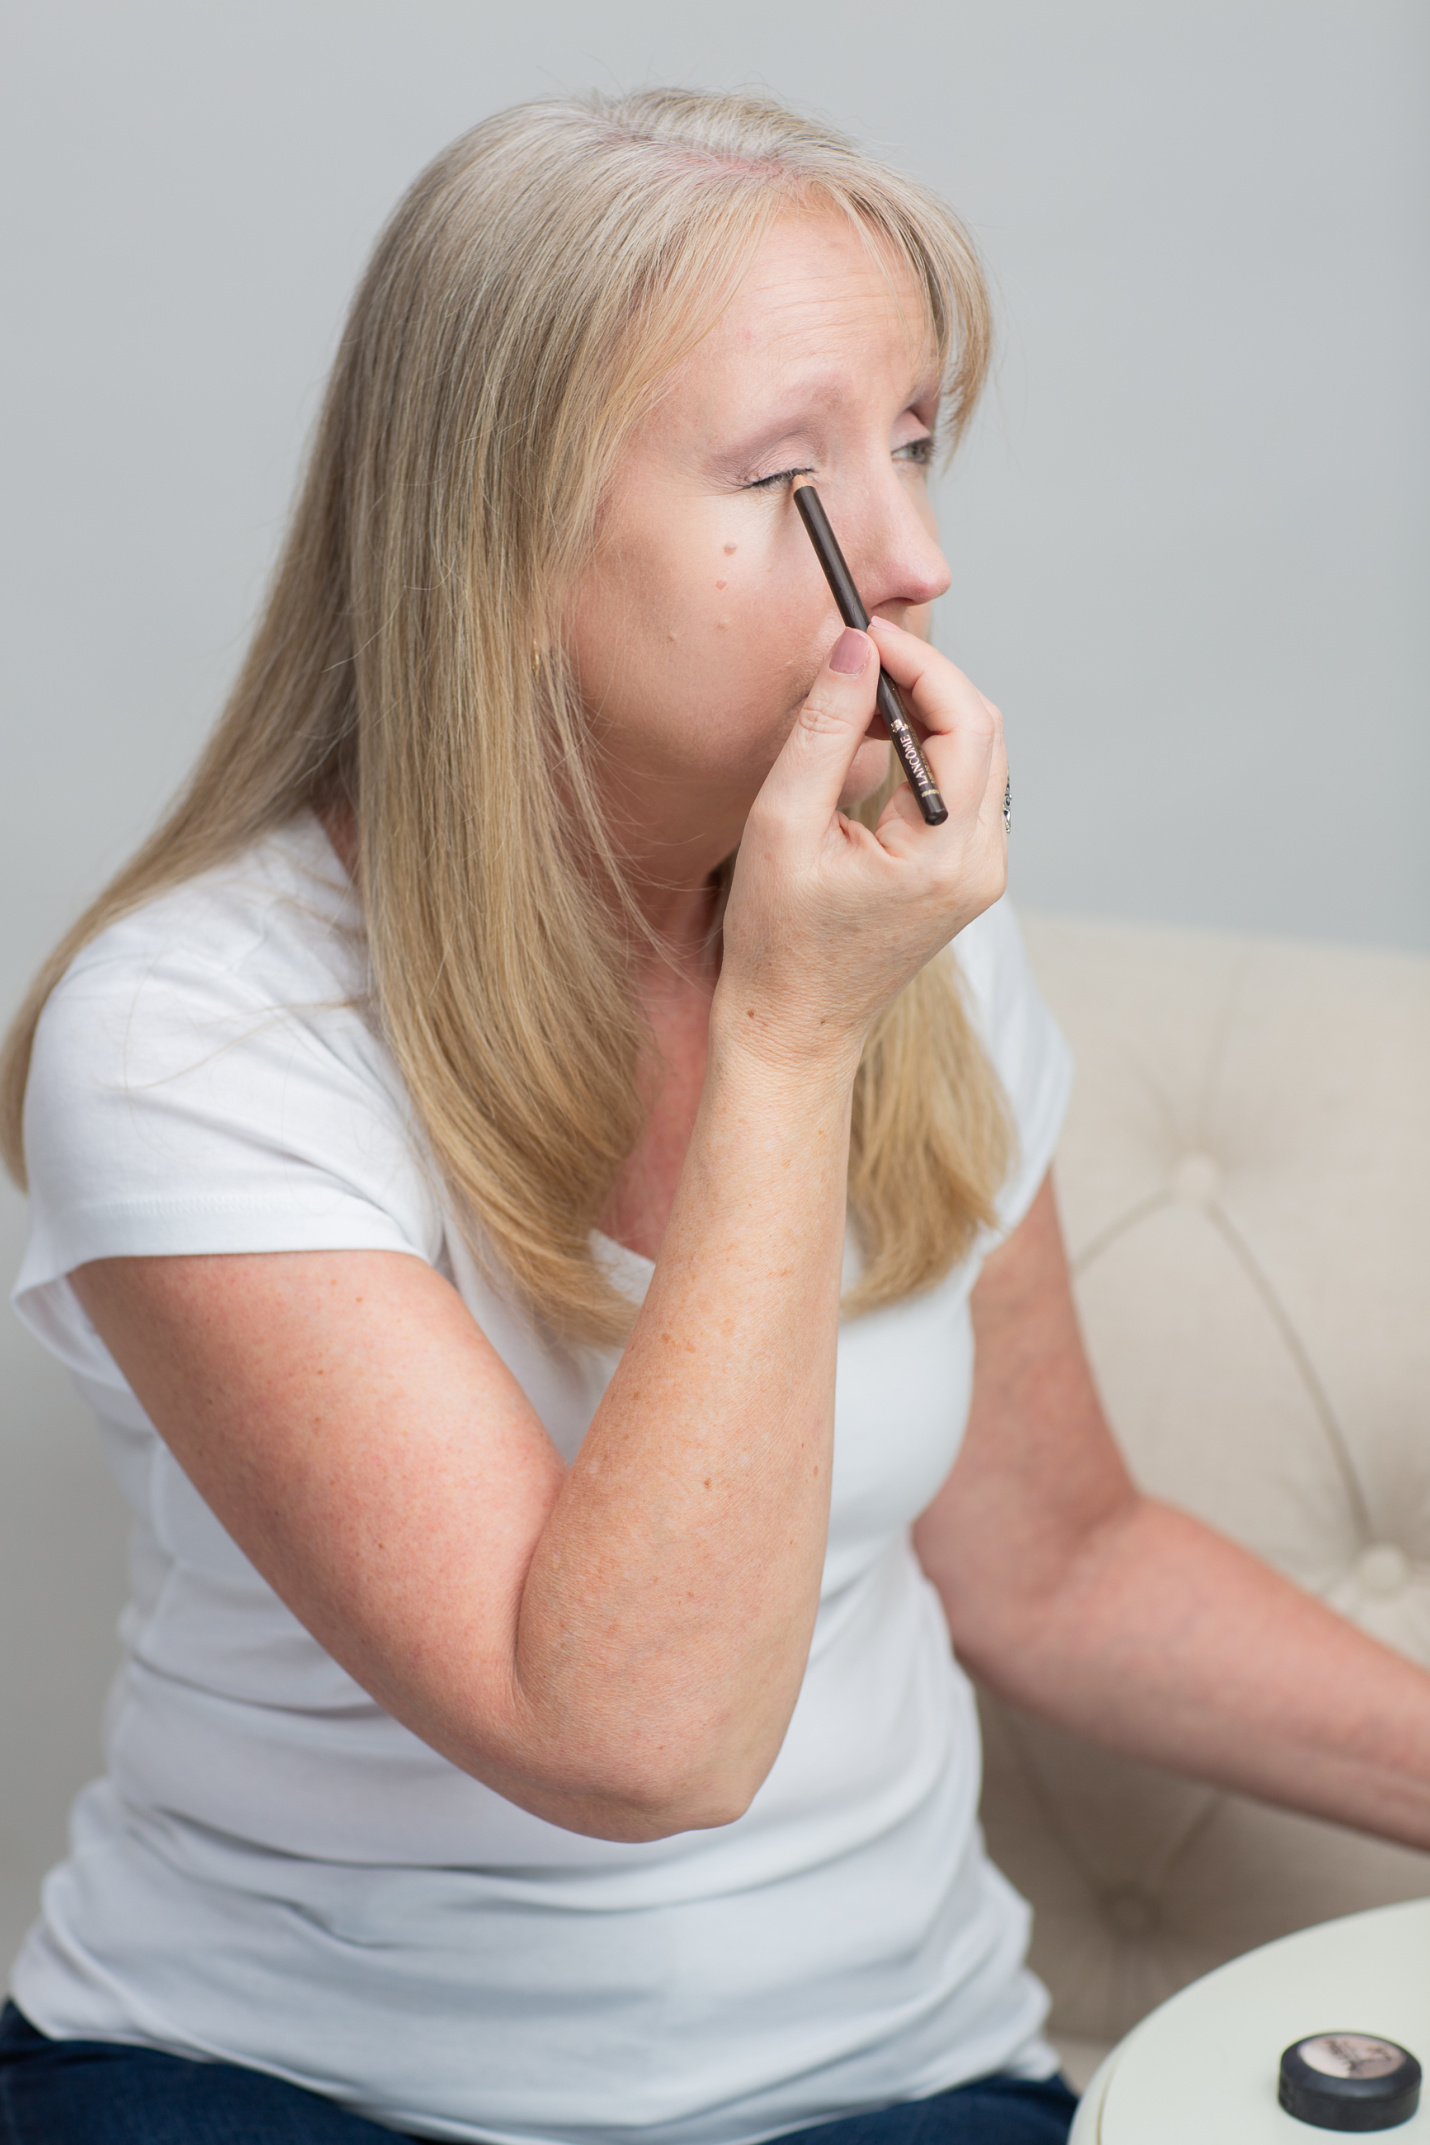
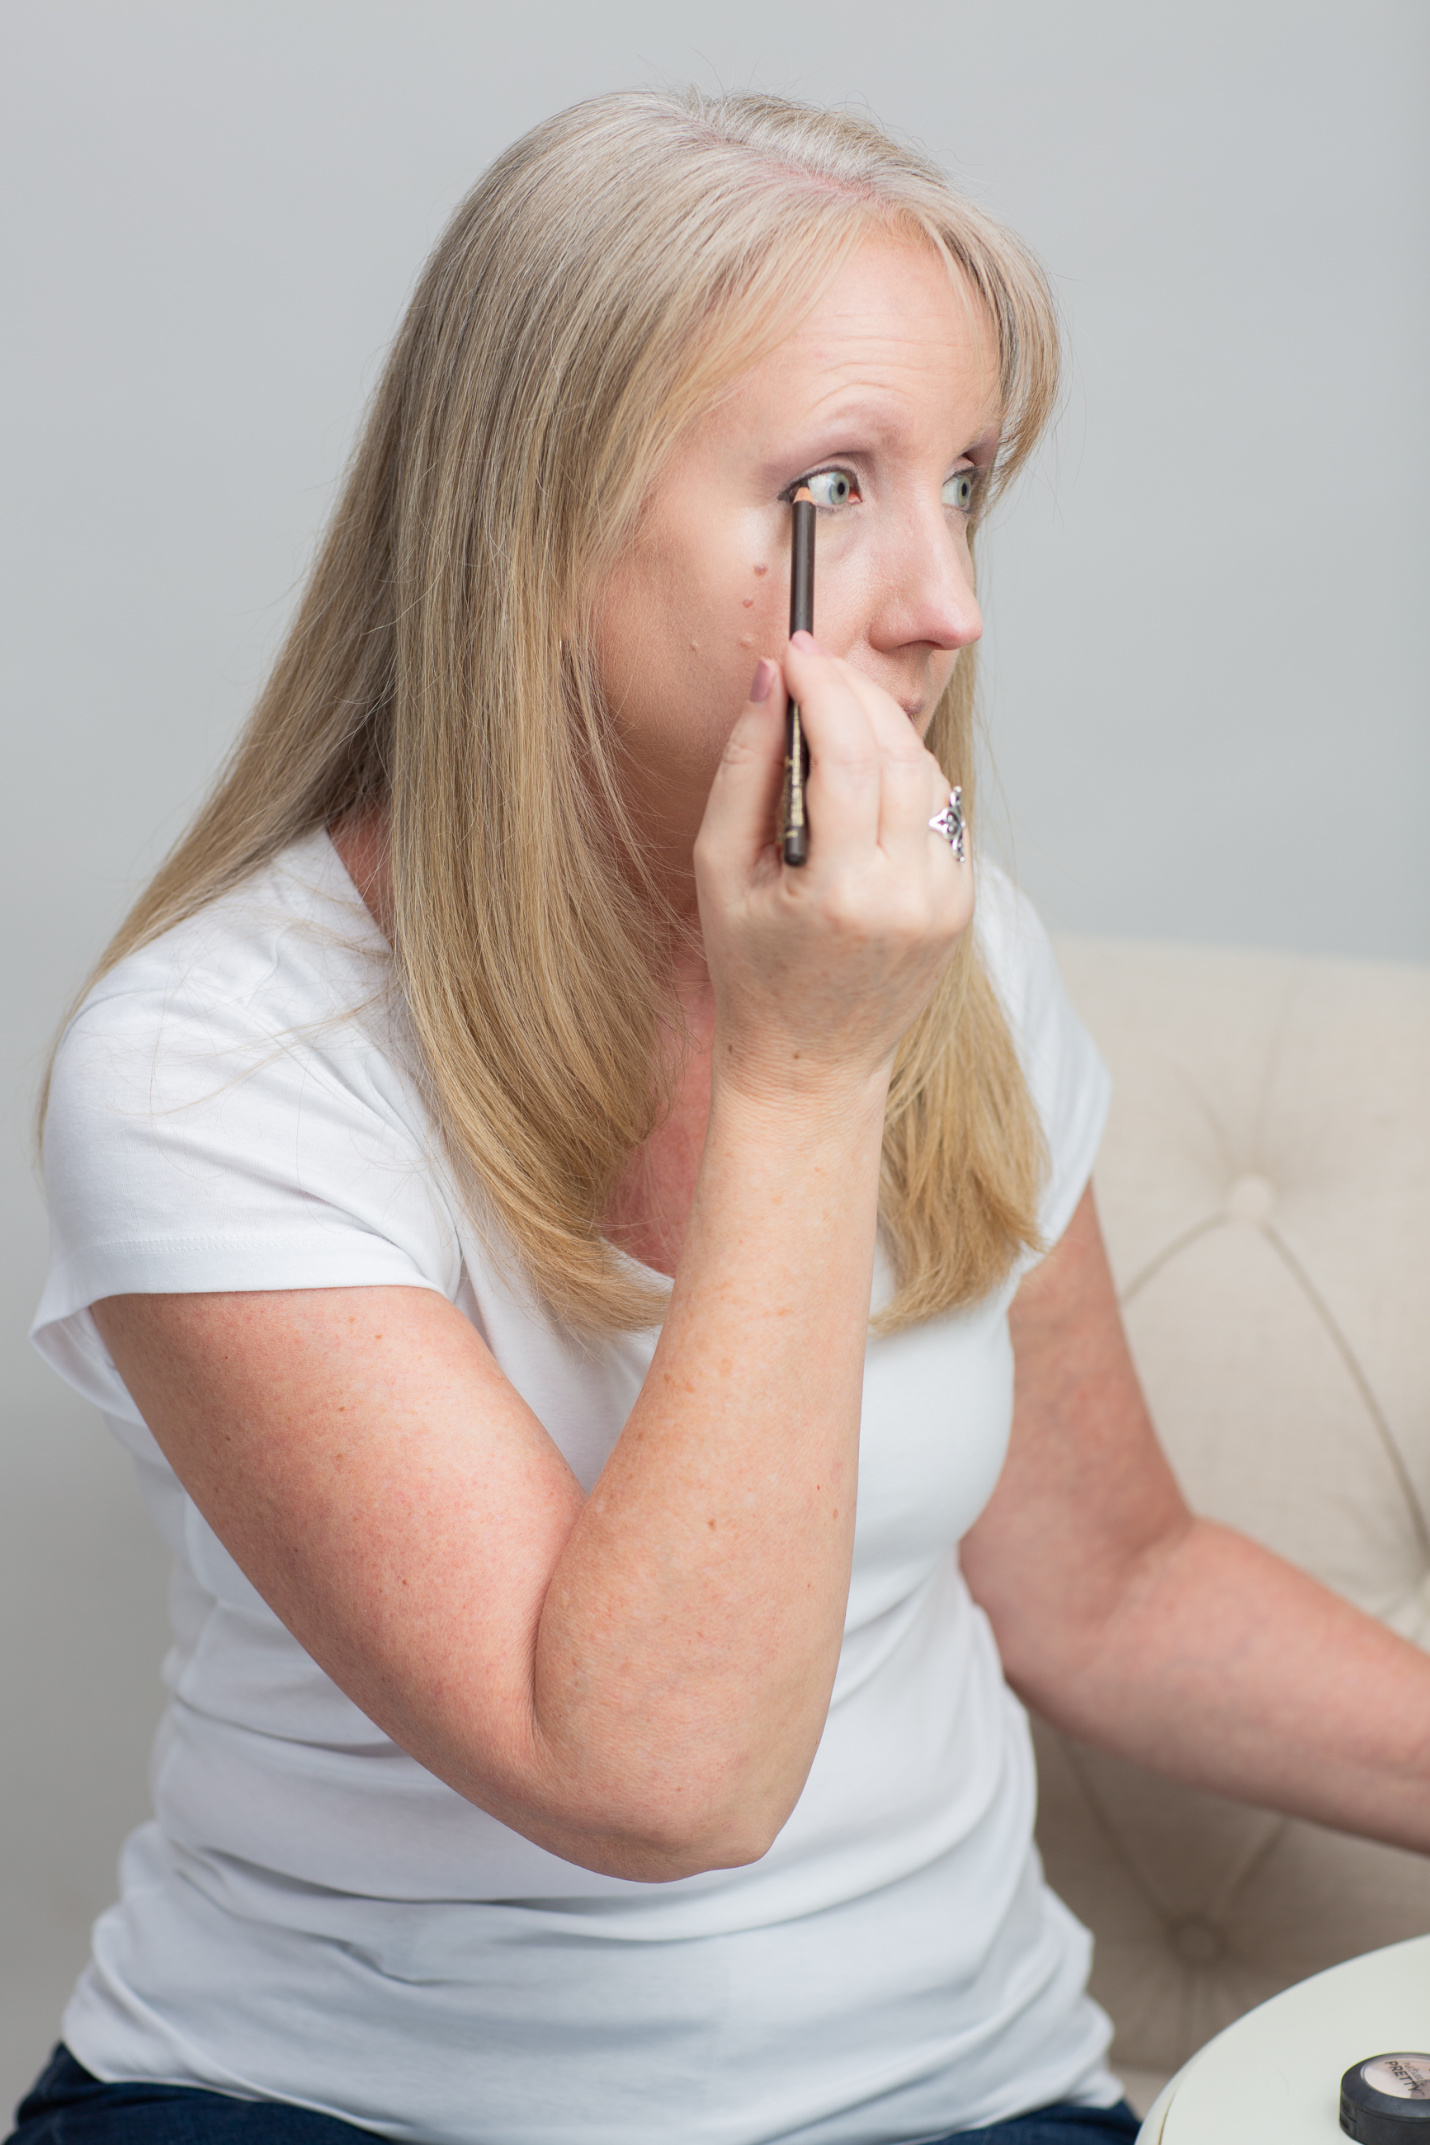
Even though my eye appears to be closed in the photo above, I try to keep my eyes open as I apply the eyeliner. I find that I stay closer to the lash line that way. I just apply the eyeliner the full extent of the upper lash line and on the outer 1/3 of the lower lash line. Stay very, very close to the lash line. Really aim to be in the lash line.
In fact, if you have darker lashes and coloring, you probably don’t need to line the area beneath your eye at all. You want to create a very open, natural look, and having too dark a line or a line below the eye can close off the eye.
Finally, I use the other end, the smudging end, of this brush to smudge and lighten up the eyeliner I’ve applied.
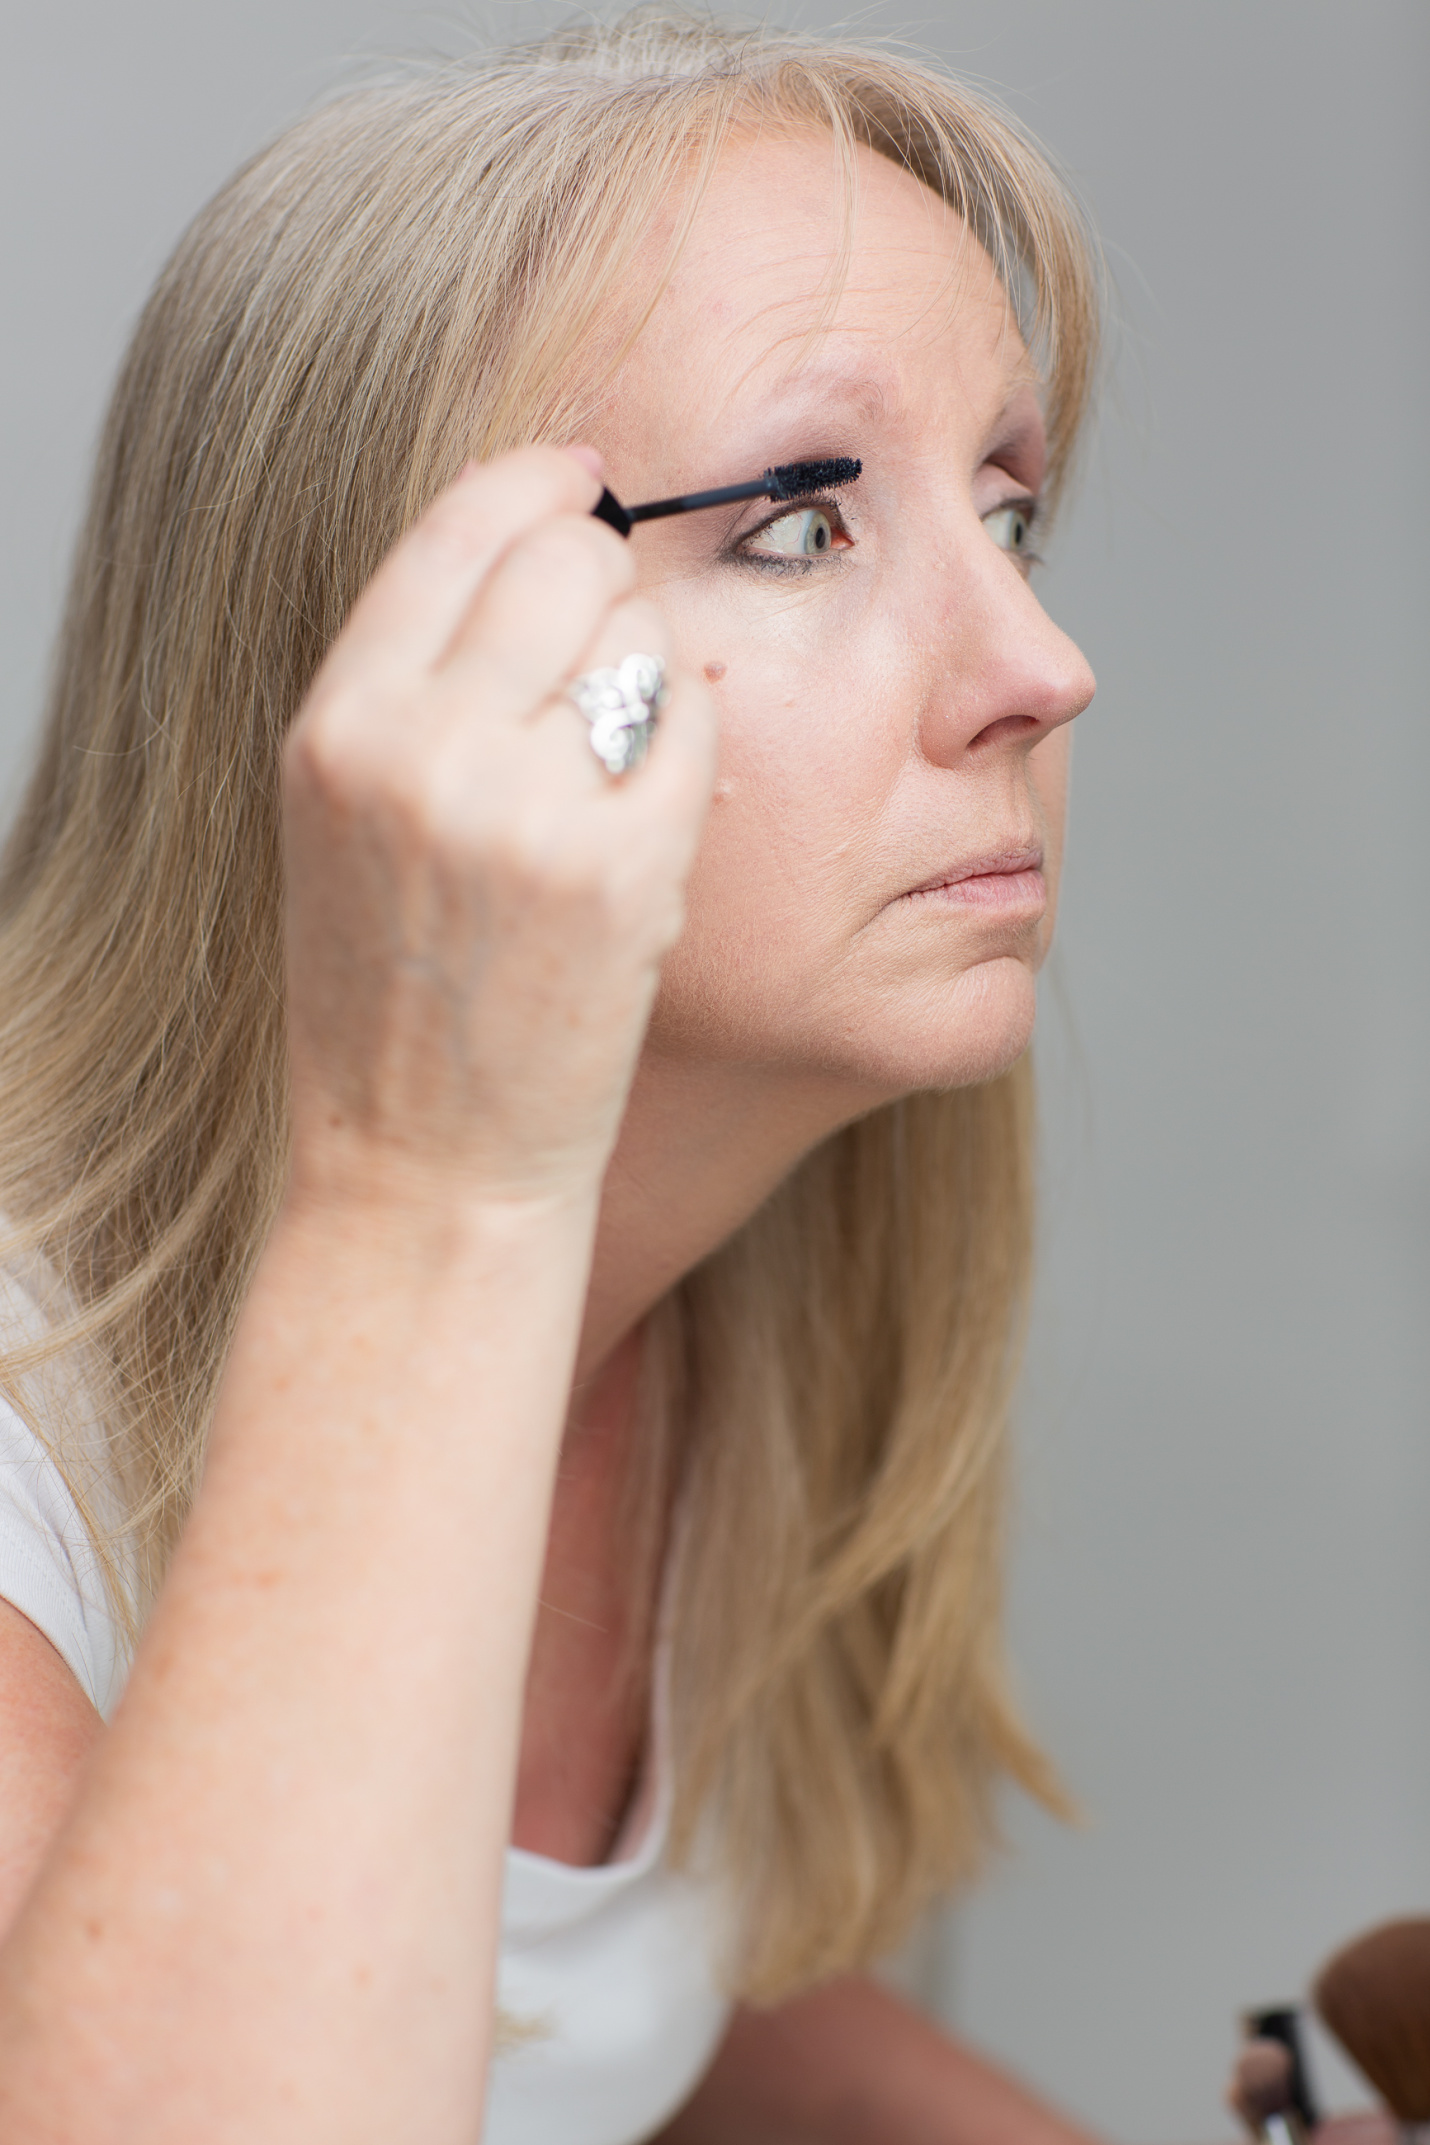
Finally, I apply the Lancome Definicils mascara. This is the only mascara for me. I’ve tried so many, and I’m disappointed every time in the money I’ve spent. I always come back to this mascara.
The reason it works for me is that I have very thin, short, blond lashes, and I want a product that separates and doesn’t clump. I also want a product that doesn’t look crumbly, but goes on smooth. For me, this mascara leaves my lashes looking natural, and that’s important to me at this age.
Tip – As you open your mascara, turn the wand, picking up product as you remove it from the shaft of the tube. Then apply one thin coat to one eye, followed immediately by a thin coat to the other eye. Next, without dipping the wand back into the shaft, apply a second coat to each eye. Finally, if you want to add a third coat, do so without dipping back into the product. You should have plenty of product on the wand’s brush without dipping for more, and this will actually extend the life of your tube.
Eye brows
As we age it is so important that we fill in our brows and shape them in a way that defines and opens up our eyes. We visually associate full brows with youth, so we need to create the appearance of fuller eyebrows where ours are in fact thinning. And in my case, since I have very blonde and thin eyebrows, I have my work cut out for me. But we can still create natural looking brows.
I used to use a brow pencil, but I found that I felt like the application with a pencil was actually pull out brows. Maybe it wasn’t, but that’s what it seemed like to me. And I feel like I can create a more natural look with a brow powder.
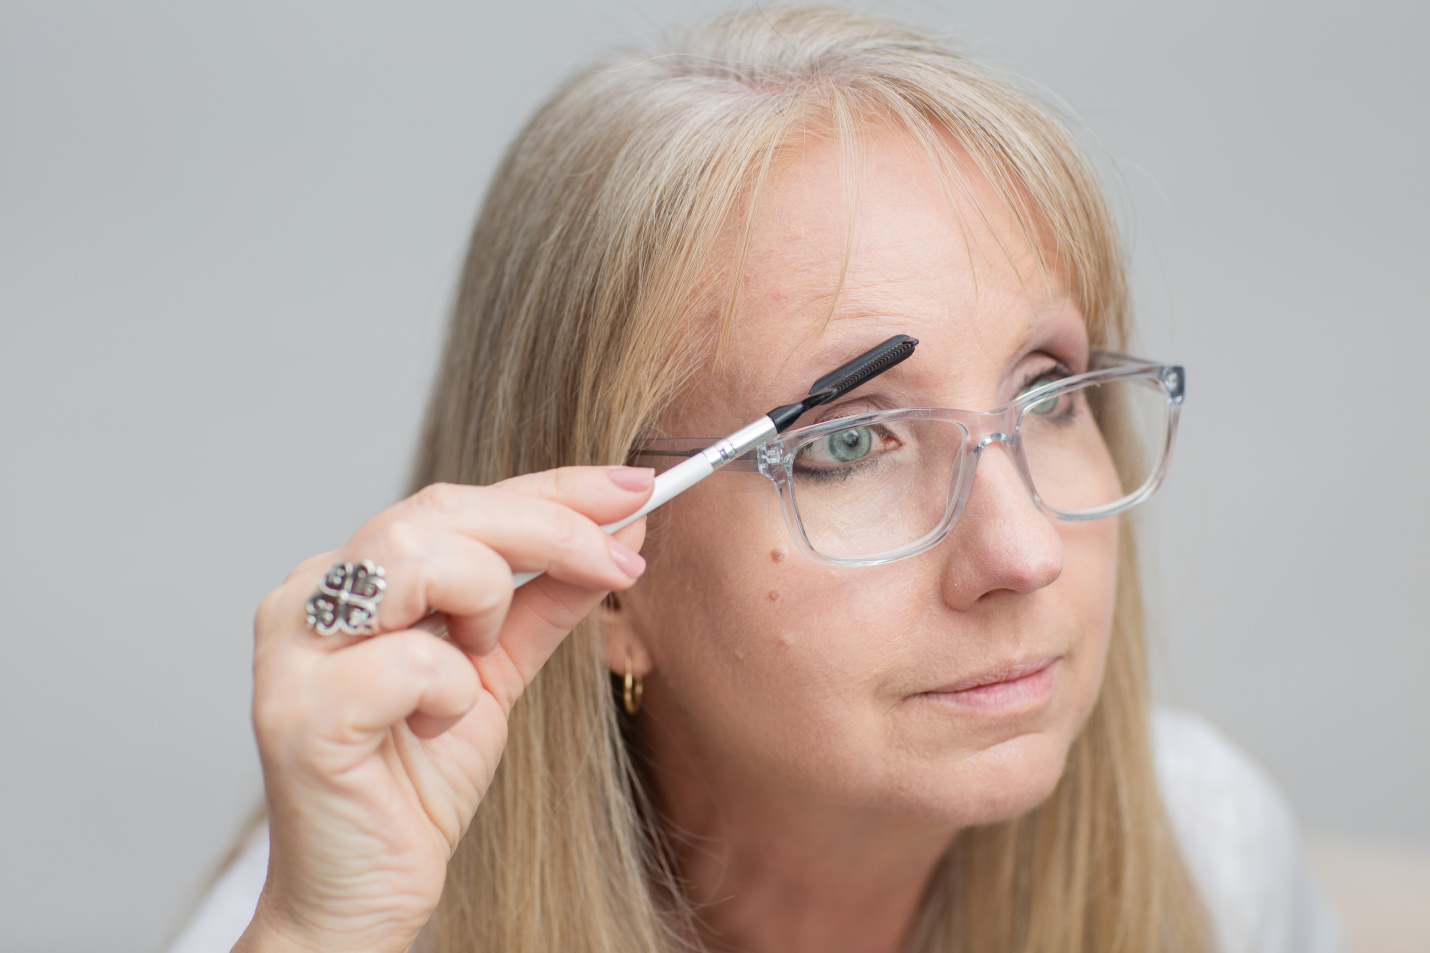
Have I mentioned that I apply most of my makeup without actually seeing what I’m doing? Ha! Do you have to do that, too? But at this point I’m able to put on some reading glasses so I can see how I’m shaping my brows.
First I gently comb my brows (yes, I actually do have some! They’re just very blond!).
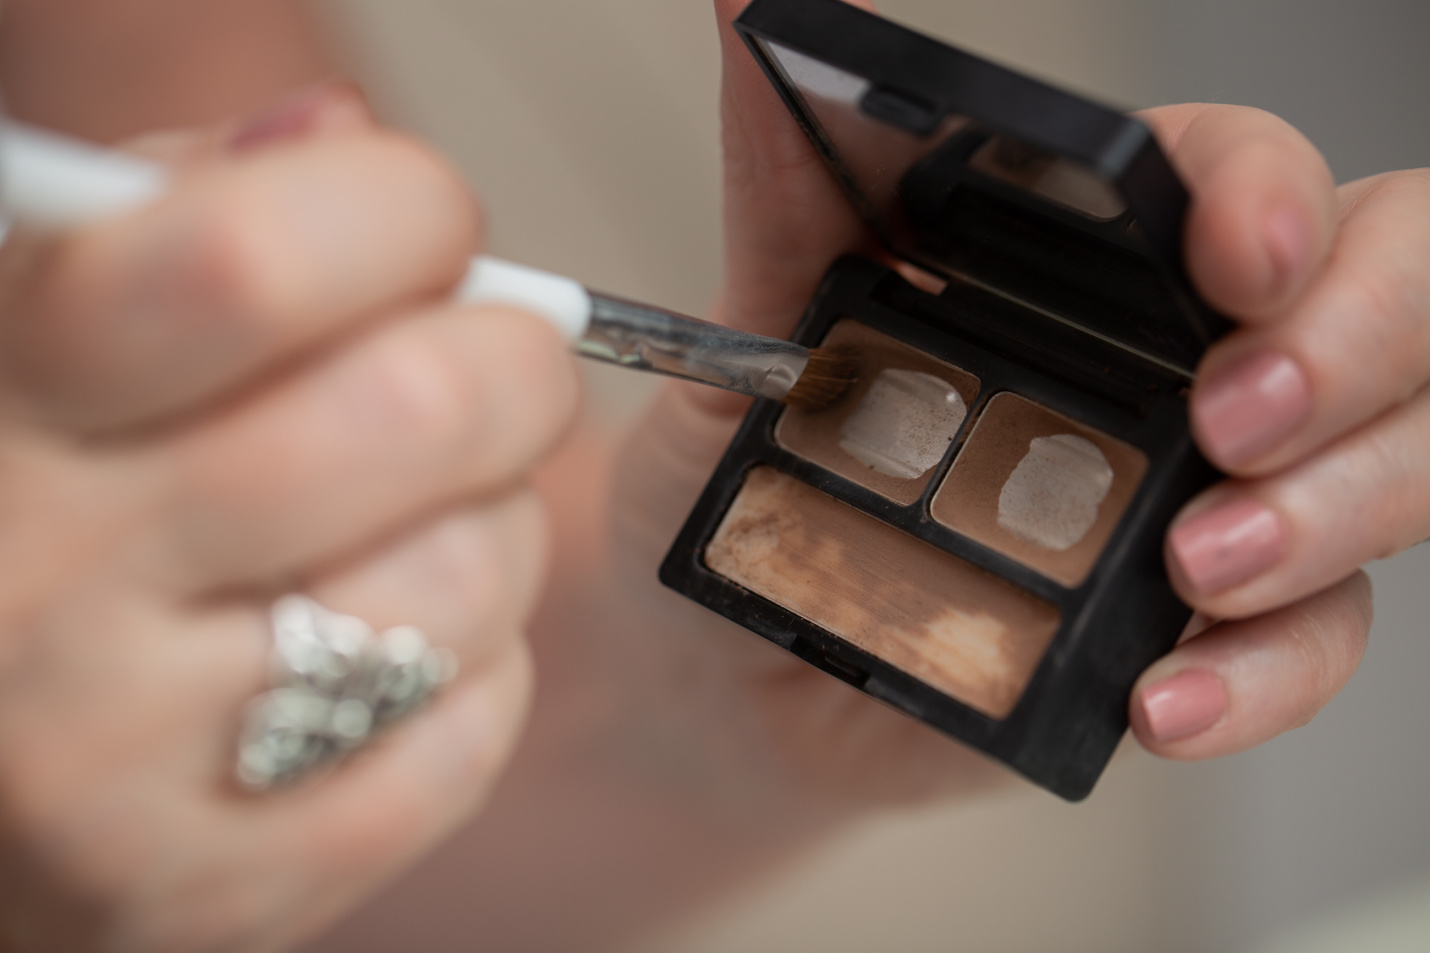
This Urban Decay brow shadow is highly pigmented so I don’t need much. I use the Blondie shades. I swipe my brush through both shades (for some reason, I just like mixing them). Then I tap off the excess before applying.

You can follow the natural arch of your brows to an extent, but I prefer to create a bit of an arch at the outer 1/3 of my brows. If you create the arch in the center, you’ll look “surprised” all day. Hmm. But if you create the arch toward the outer portion of your brows you’ll open up the eye and even visually pull your eyes up, creating a more youthful appearance.
Also, make sure you don’t create a dark, thin brow that leaves you looking severe. Remember, fullness signifies youthfulness to the eye. So you want your brows to look lush, but not bushy.
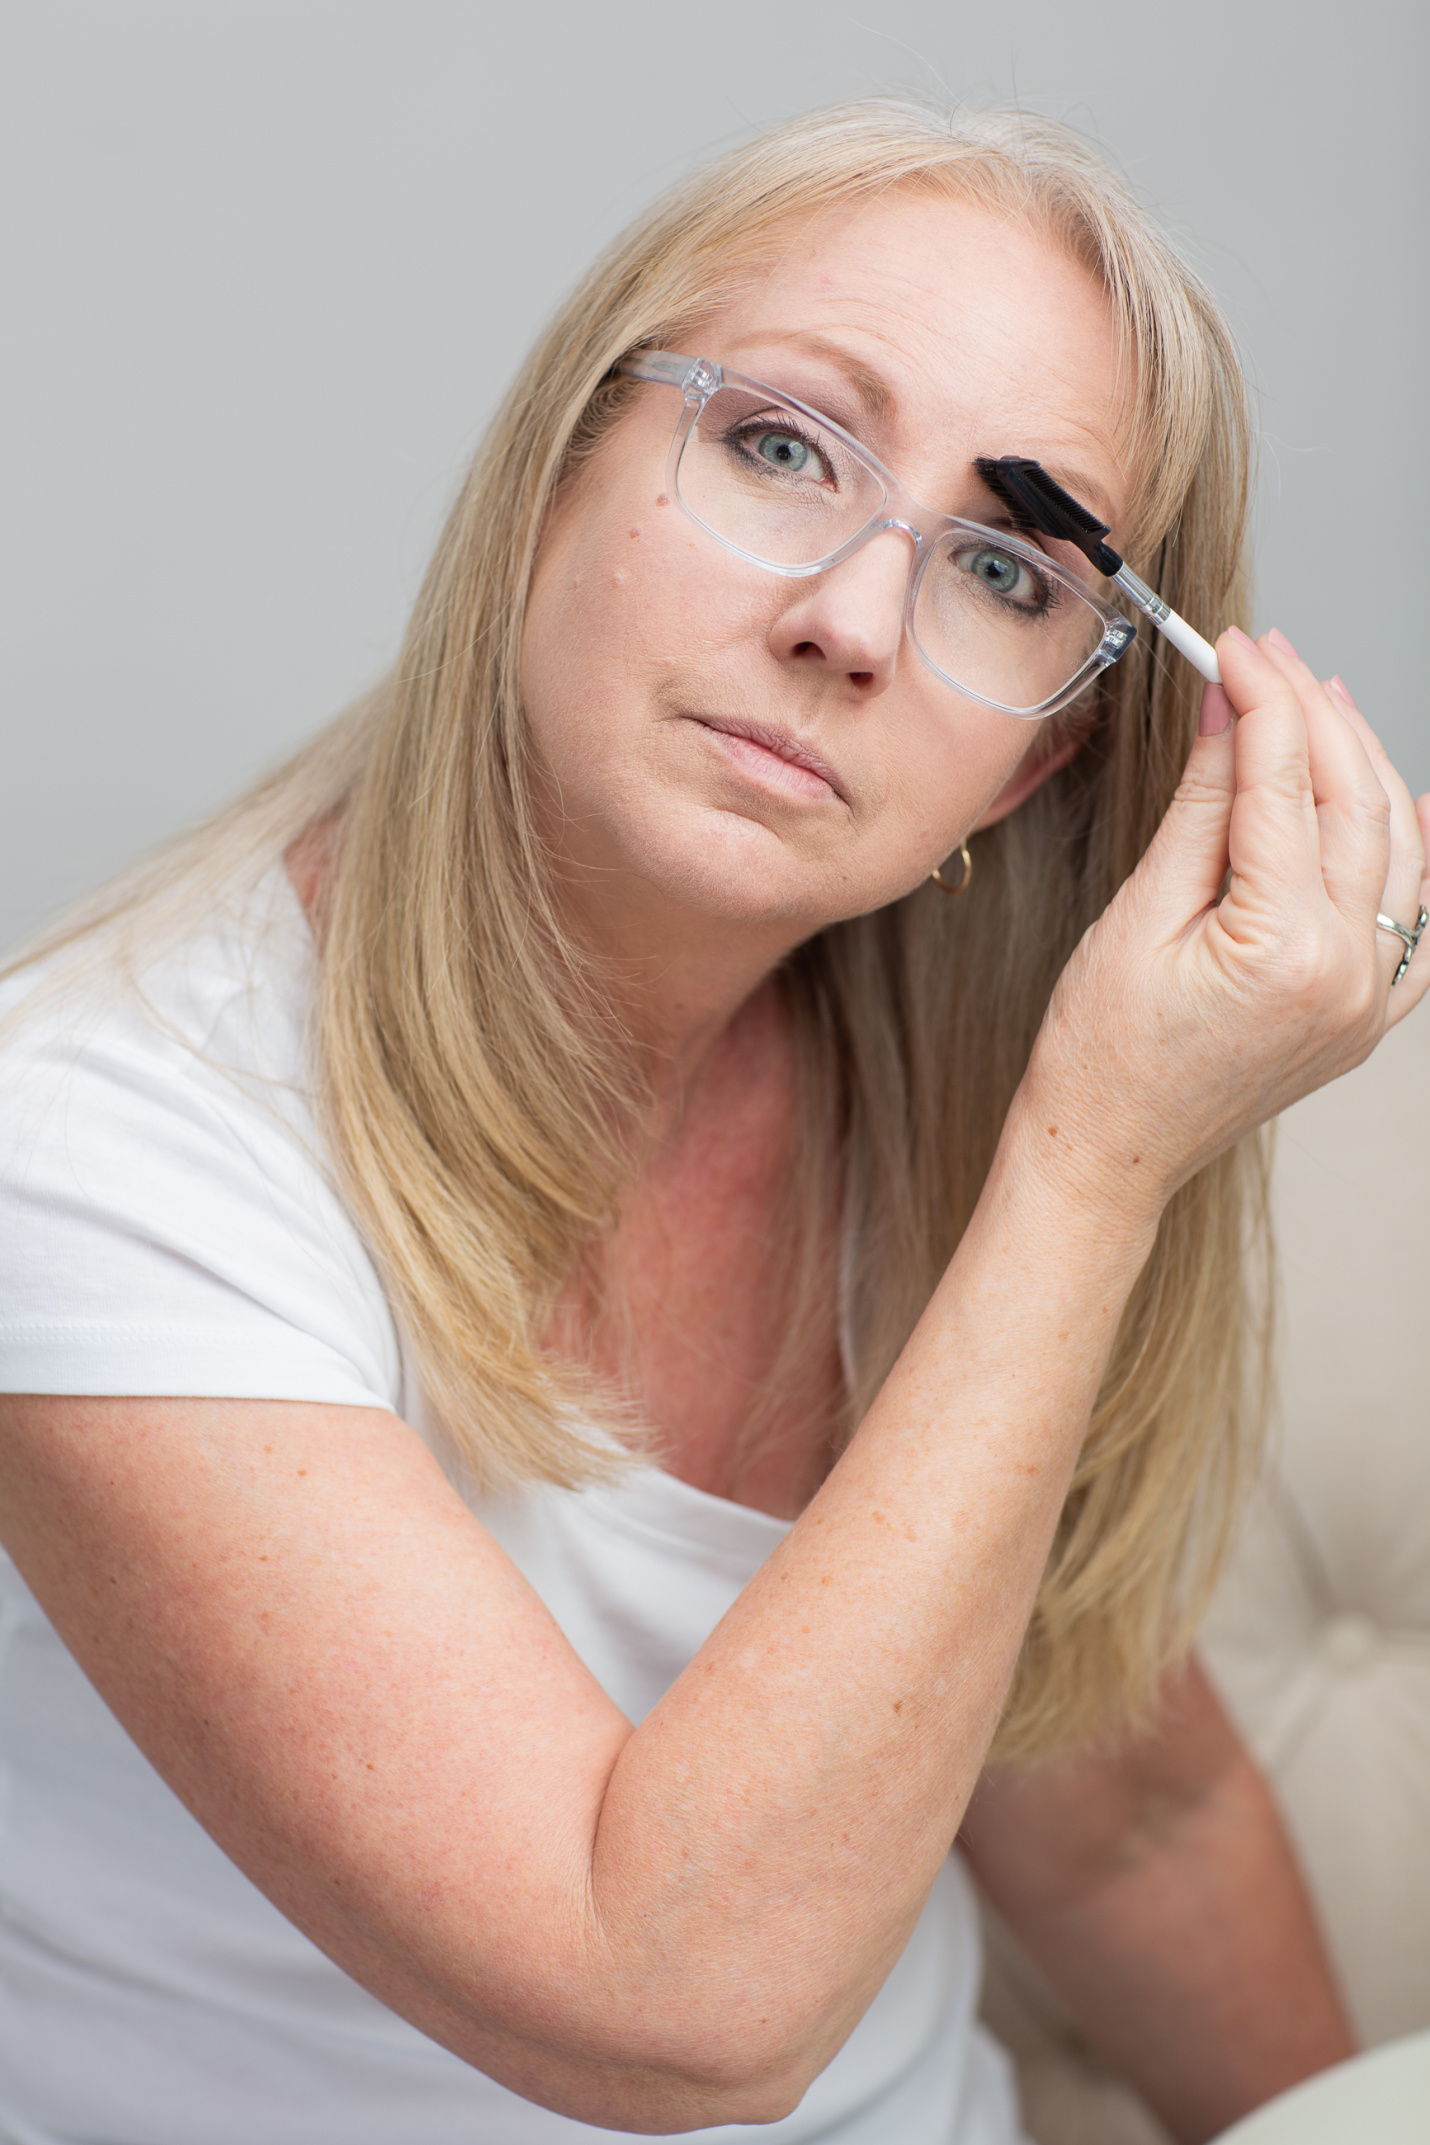
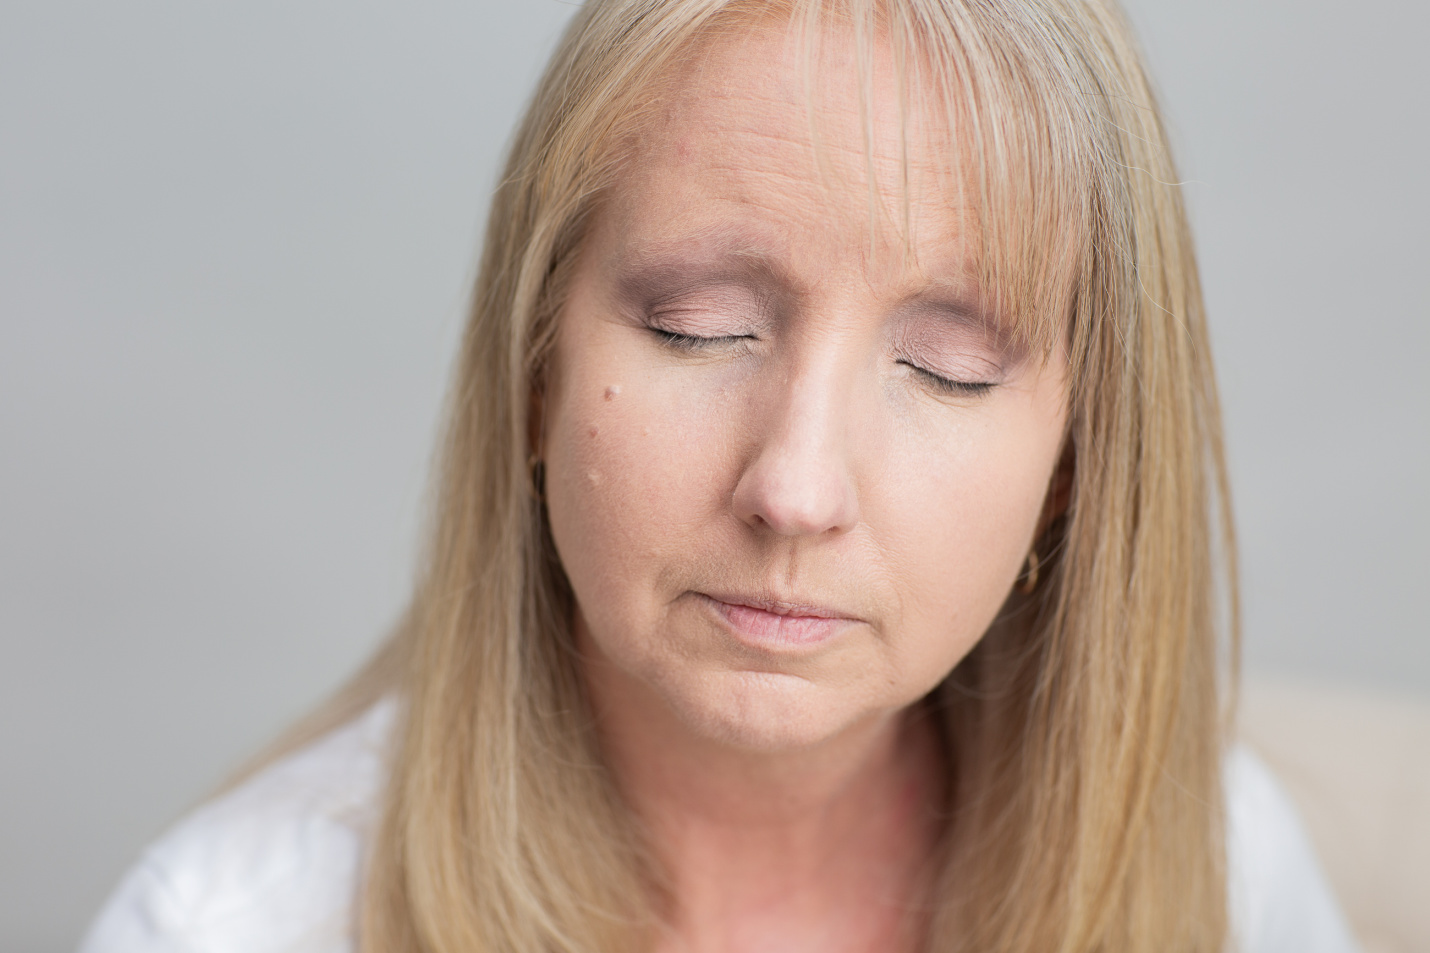
After applying the brow powder and creating the brow line I want to achieve, I gently, very gently, brush the brows again. Don’t brush too hard or you’ll just remove the product. You can also use the wax in the brow box to set the look, but I usually don’t.
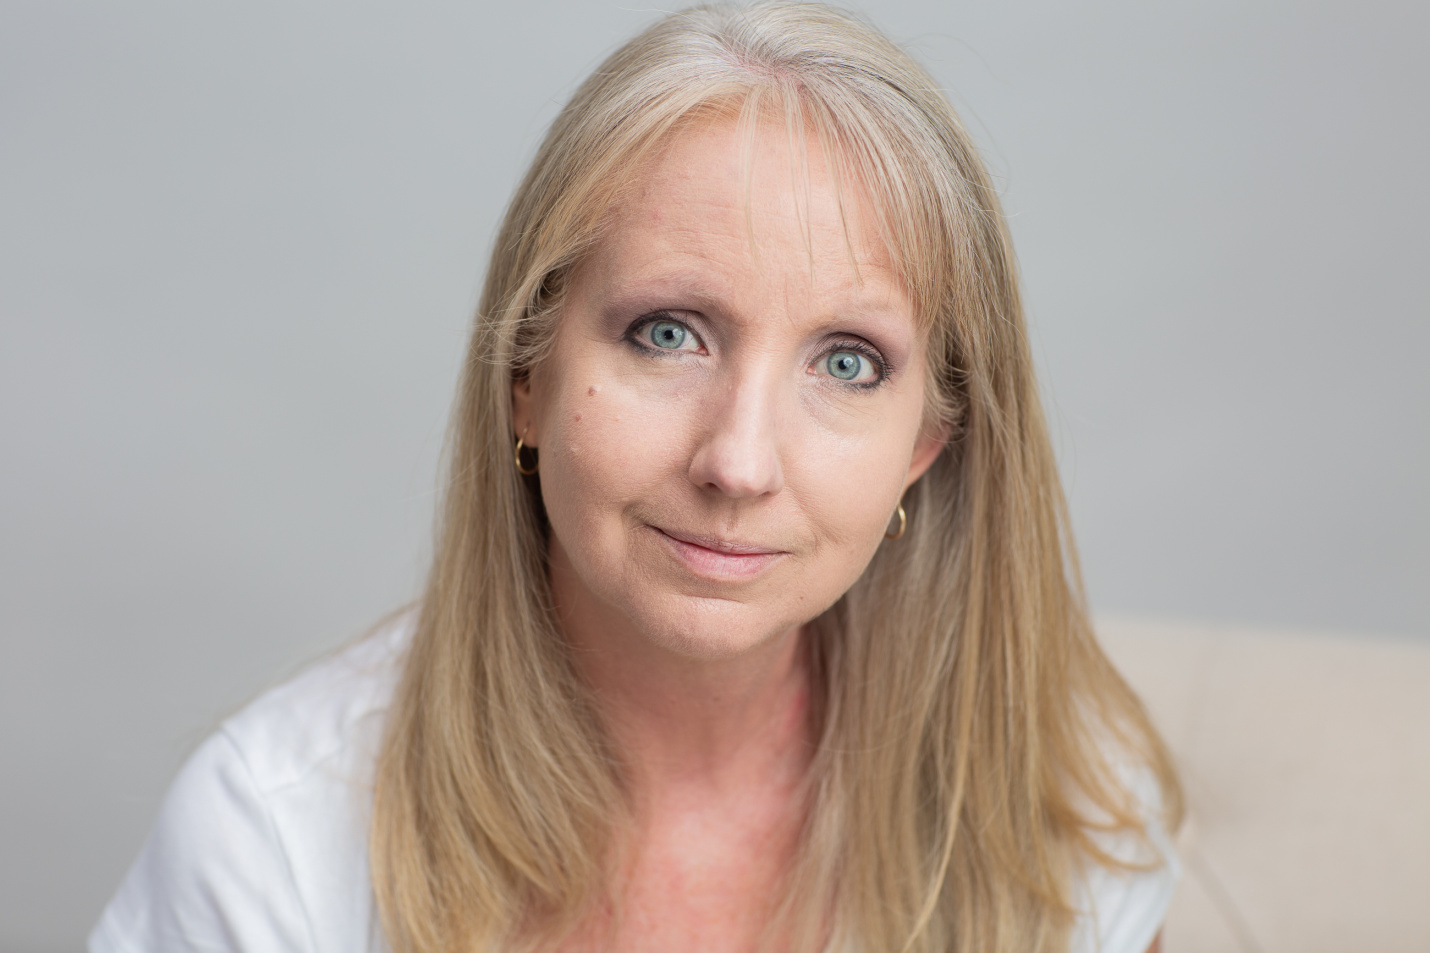
In the photo above, my eyes are all done. But there’s still work to be done! Check back in tomorrow for the completed look.
Shop the Post:
You can shop the products and tools I’ve used in this makeup tutorial through the shopping widget below. These are affiliate links and when you make purchases through them I do potentially earn a commission, but at no cost to you. Thank you for shopping my links and supporting what I do here at Dressed for My Day. If you have any questions, please let me know.
Thanks so much for spending some precious time here at Dressed for My Day. I hope you’ll check out the rest of Beauty Week, too.
photographs: Hannah Whaley Photography
Blessed for My Day
Today may you use your eyes to communicate grace, love and encouragement to those you encounter. May your eyes be bright with the joy of the Lord, a testimony to His goodness. May your eyes be tender toward those who need some compassion. May your eyes be honest and forthright with those who need to hear the truth. And may your eyes be gentle and kind with those who need a little patience. Today may your eyes be bright, not because you’ve made them up, but because the Lord has been gracious to you.
Bright eyes gladden the heart; Good news puts fat on the bones. ~ Proverbs 15:30
I have to work on how to do my eyebrows. I don’t like the product I have (I think it is too dark), and I don’t really know what I am doing (which is really what I could say about my make-up in general 🙂 Thank you for this tutorial. I am going to keep it and do some practicing when I get a chance and am not getting ready for work.
I tell you what, Arna, eye brows just take a lot of practice! I feel like I’ve gotten so much better at them, but I struggled for a long time. So yes, take a little time on a Saturday morning or afternoon and just work at it. Practice really helps!
I so appreciate your willingness to show us your steps. Thanks for sharing all your products you found that work. I agree about soft eye liner pencils. I found one that is soft. Sephora has a self sharpening eye liner pencil Sephora brand and a sponge on other end for blending. Cost about $12.
I admit it is a little unnerving! I’m no expert. Thanks for sharing your eye liner pencil. Maybe it’s this one: https://shopstyle.it/l/ZQ2j ? Looks great!
Yes it is that one! I know it works well for me. God makes us all different so it might not be a good fit for everyone but I did want to share because i like it so much and the color choices are larger then some brands.
I’m a little late to the party Kay, having just recently become a follower of your Blog but I sat down this evening and began reading through many of your posts which I’m enjoying!. In this Post about your eye make up routine I have a very similar coloring as you (fair and blonde) so my brows and lashes tend to fade away without eye makeup. I use several of the same products you feature here as well. I’m 62 and though I’ve heard about lash primer, I never tried it until recently. Oh my what a huge difference it’s made in opening my eyes and making them younger looking! I use one thin coat of Loreal Voluminous Base Lash Primer, followed by one coat of Lancome Hypnose Drama mascara. I like to use a disposable mascara brush wand, the kind you find at beauty counters or discount stores, to help separate my freshly mascaraed lashes. Then I will apply a 2nd coat of mascara and use the disposable wand to separate my lashes again. The disposable wand not only separates my lashes making them look fuller, but they also help to remove any clumps of mascara. The end result is full, longer, yet natural looking lashes. There’s no need to dispose of the mascara wand every time, I use mine for a several months. II just clean it now and then. I’m enjoying the content you offer on you Blog about Fashion & Beauty but mostly I love how you lift the Name of Christ and encourage your followers to live a vibrant relationship with Him! Be Blessed!